
How to paint plumage and feathers
From an artist’s point of view, painting plumage and feathers is often a dreaded process, but even if it is without doubt time consuming, it doesn’t have to be complex or difficult at all.
Now, there are many types of feathers, and if you plan on painting birds, you should study theory about different kinds of feathers and their purpose. Some feathers are for protecting against weather, some for insulating the body; some are for decoration, and flight feathers which are stiffer and obviously are for flying purposes.
My suggested approach to feathers is quite down to basics, as I believe that completely hand painted plumage looks a lot better than a repetitive feather-shaped brush, or a perfectly repeated row of feathers in overlapping layers.
I would start off with a simple outline drawing to settle the approximate shape, and then start shaping up each feather quite roughly. To get the sense of layers, make sure to add some soft shadow along the side of each feather where one feather gets overlapped by the next one. By keeping a nice transition from dark to bright, you have a nice base from to start detailing using the smudge tool, and at the end a small, sharp brush.
Starting out blocking in rough colours and contrasts lay down a good base for the detailing process later. Don’t fiddle at this stage, just be bold and do the grunt work.
3-step walkthrough
Step 1 – Get the basic shape up, and start painting in contrast.
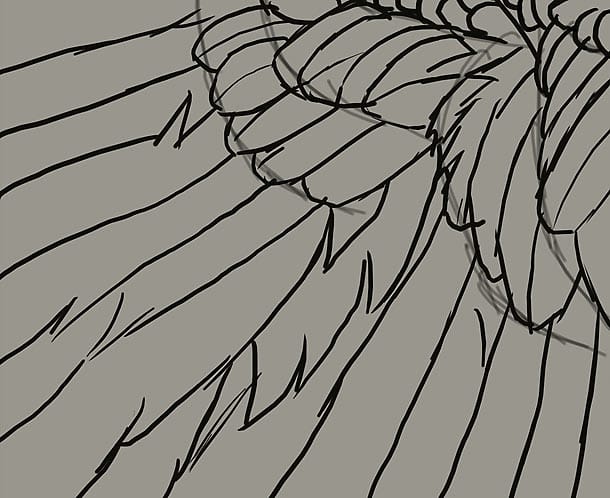
Make a rough outline of the basic shapes of the plumage you plan to paint, and roughly sketch up each of the feathers. Remember to place the feathers in overlapping layers on top of each other. It’s always helpful to look at pictures of birds and wings to understand how the feathers are overlapping.
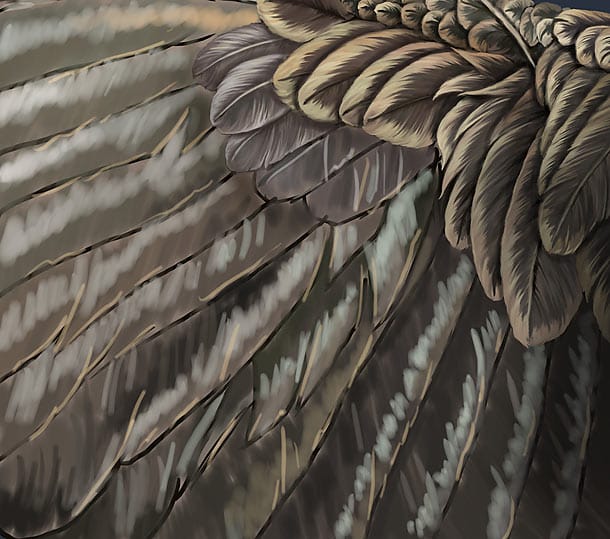
Step 2 – Get the layers of plumage sorted out, and shape up the feathers.
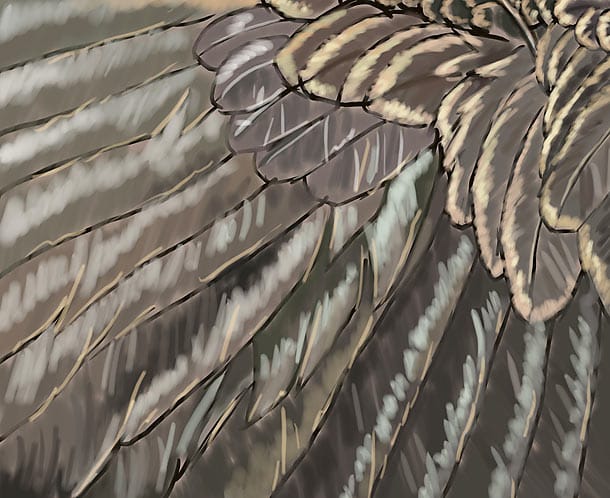
Now, add some shape to each feather, keeping the outer edge bright, and add some shadow where one feather overlaps the other. The quill is the strong stem of the feather, and it’s usually white at the base and gradually ends up into the main colour of the feather.
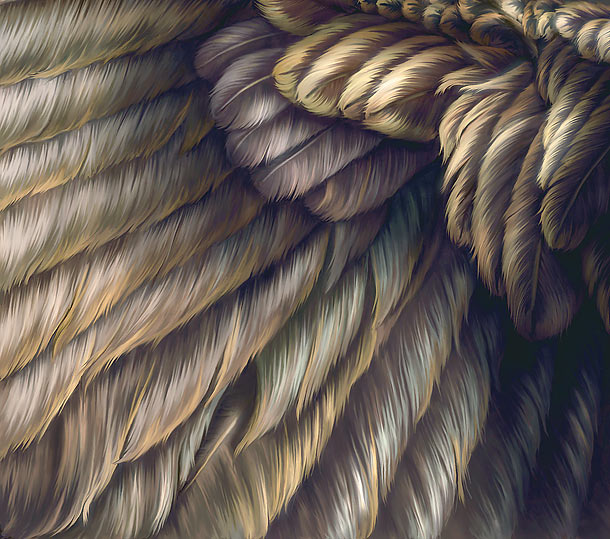
Step 3 – Add final details with smudge, and a thin paintbrush.
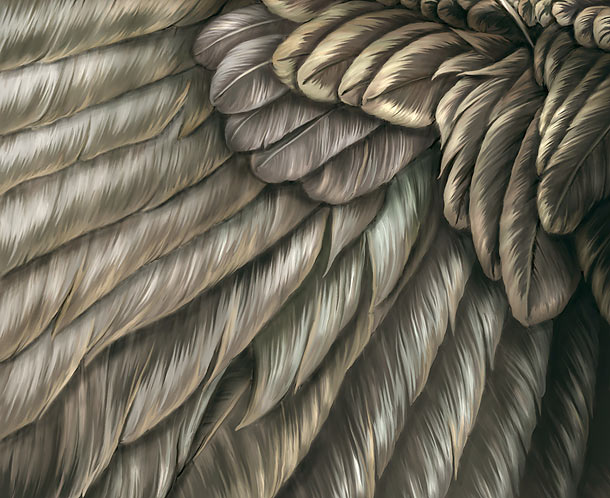
Use the smudge tool with a small brush, and shape the feathers. The fine fibres of the feathers are too small to draw every single one, but simply add a few here and there to suggest the texture. Make some gaps to break up the edges, especially at the base of the feathers. Brush up with a small painting brush at the end.
thank you ..very helpful