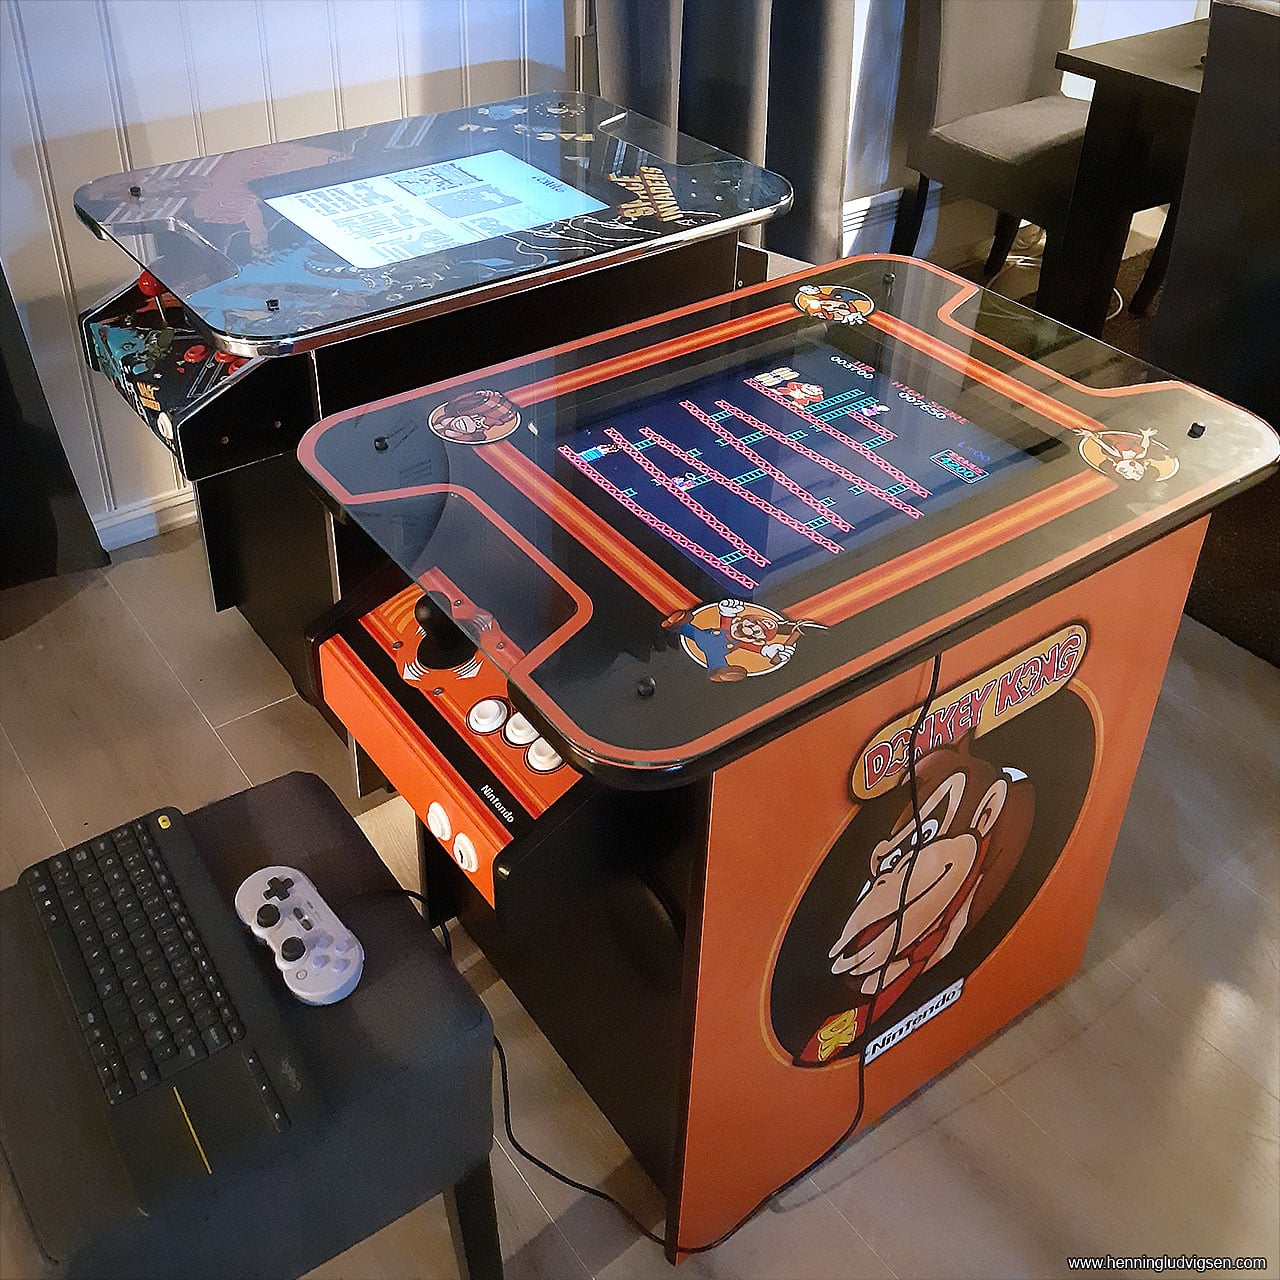
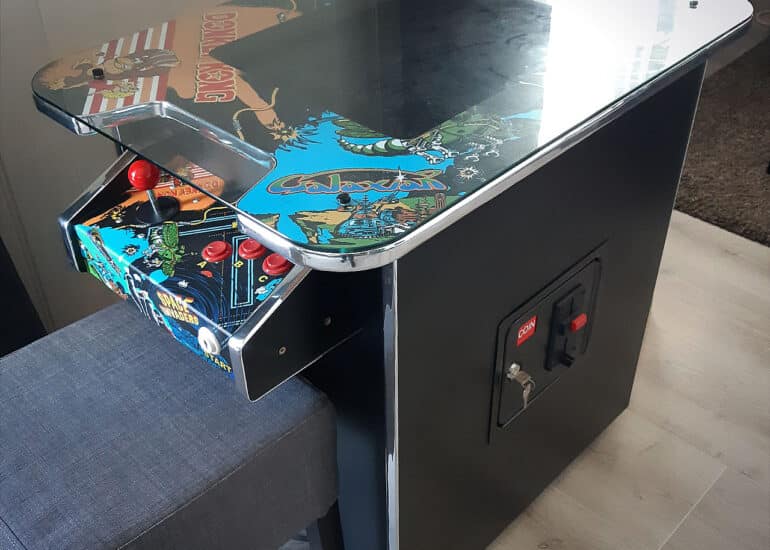
I've got a cocktail arcade in our living room that I got a few years back, and I really love it. It's a great centerpiece in the living room and it's nice to have a drink at the table either on your own or with a couple of friends while playing some old games. It's running a 60 in 1 card via a Jamma harness.
So, I decided to simply pretty much make a copy of this table just adapt it to support more buttons and use a Raspberry Pi 3B+ running RetroPi for the emulation. My goal was just to build it to see if I could pull it off with no other prospect. However, early on a friend and colleague called dibs on the machine early on, which was great news!
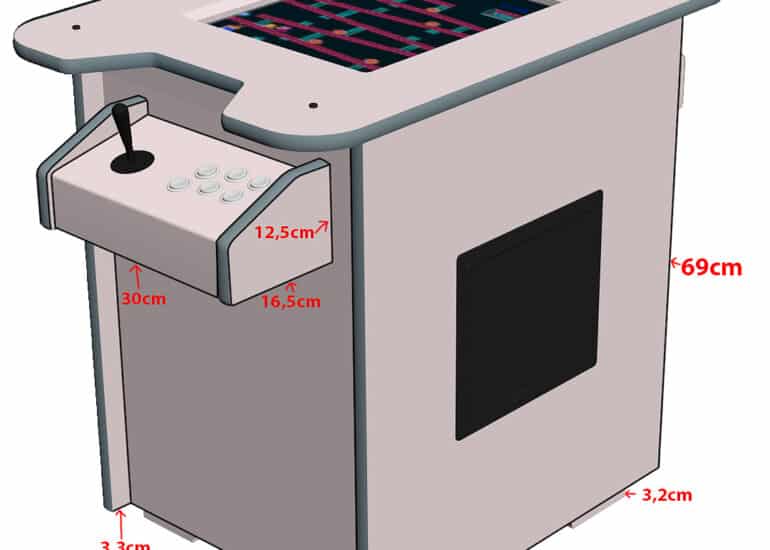
Measuring and making a 3D model
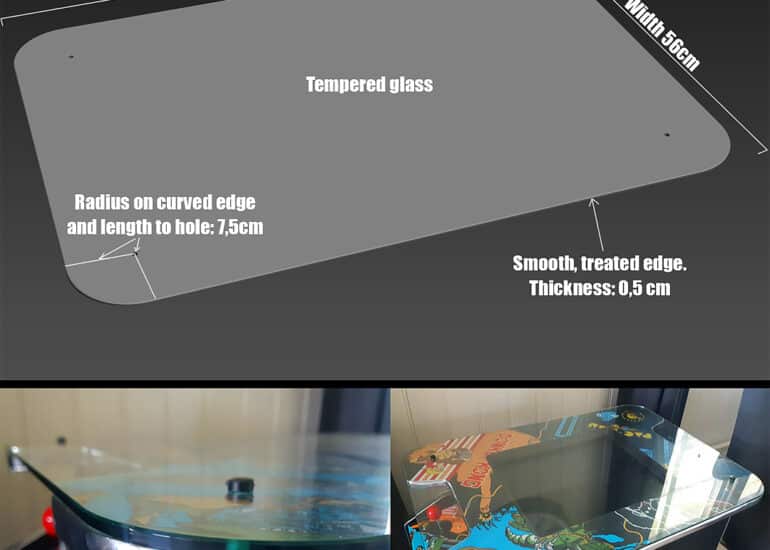
My first step was to note down the measures of the arcade and make a 3D model of it in 3D Studio Max. I also made a 3D dummy of the 0,5 mm thick tempered glass with screw holes and a nicely treated edge. It was a bit more pricey than I initially hoped, but the end result turned out completely perfect! Later I also received some better offers from other glass companies, and also potential discounts if ordering larger quantities.
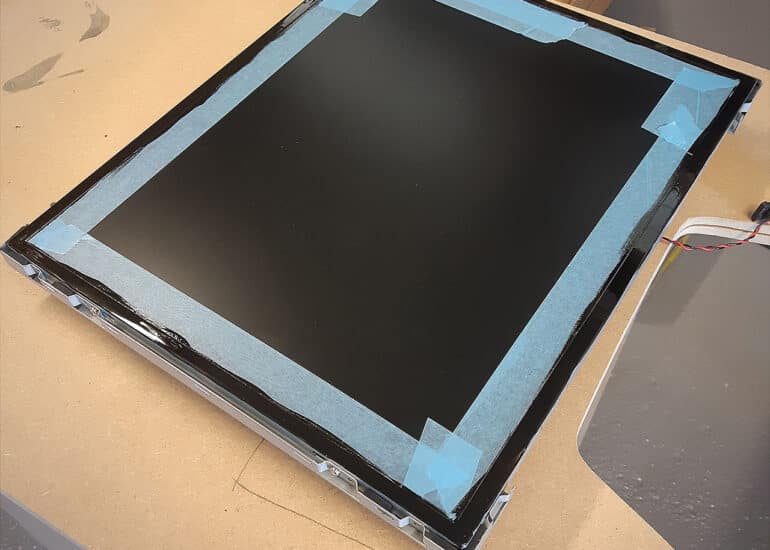
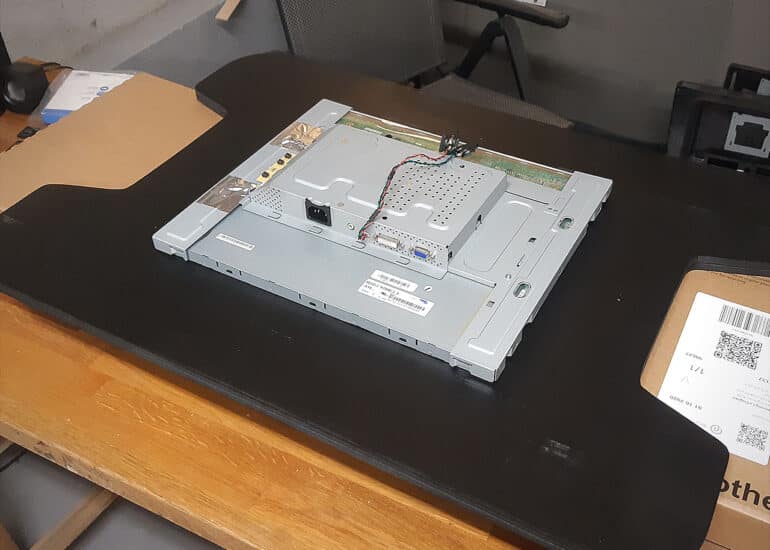
Next I stripped the monitor and masked the screen to paint the metal bezel black. This because we'll be able to see a few mm. of the edges around the LCD screen.
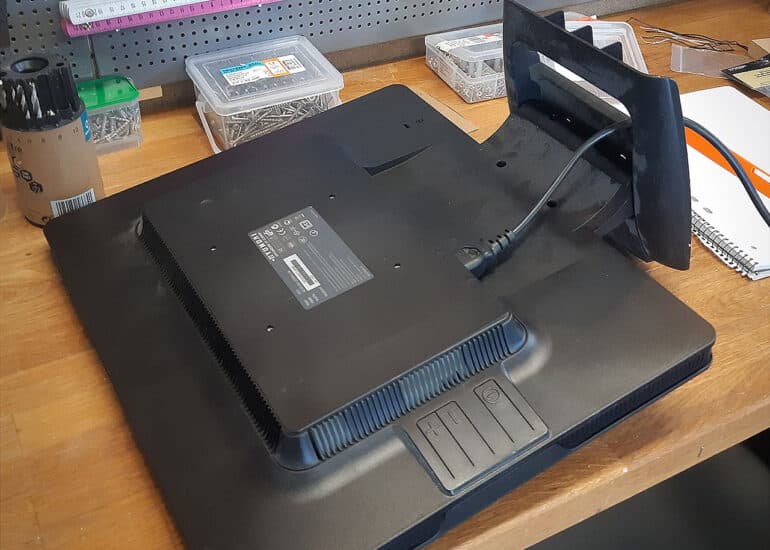
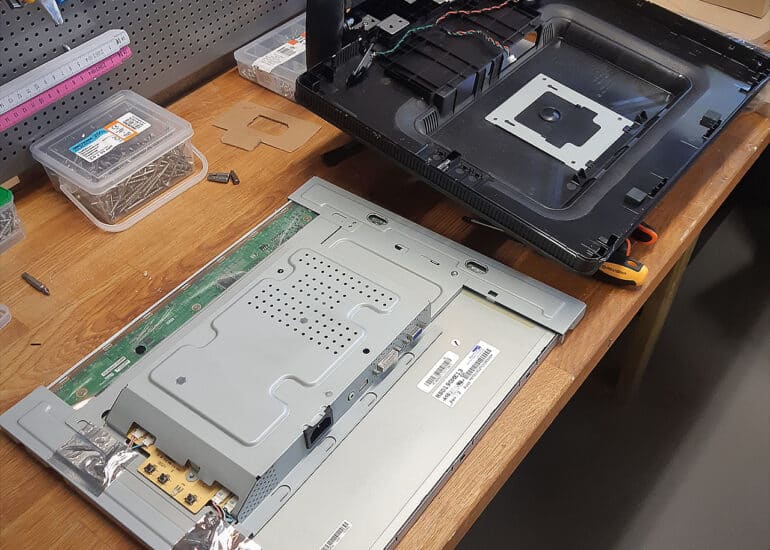
Stripping the screen
Next I stripped the monitor, as I prefer having the screen without any additional plastic covers. This also helps with over heating. Next I masked the screen to paint the metal bezel black. This because we'll be able to see a few mm. of the edges around the LCD screen.
Getting started
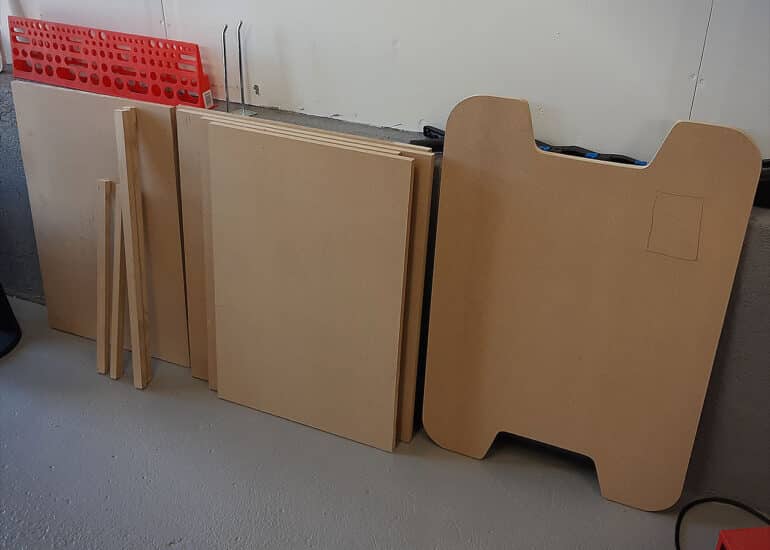
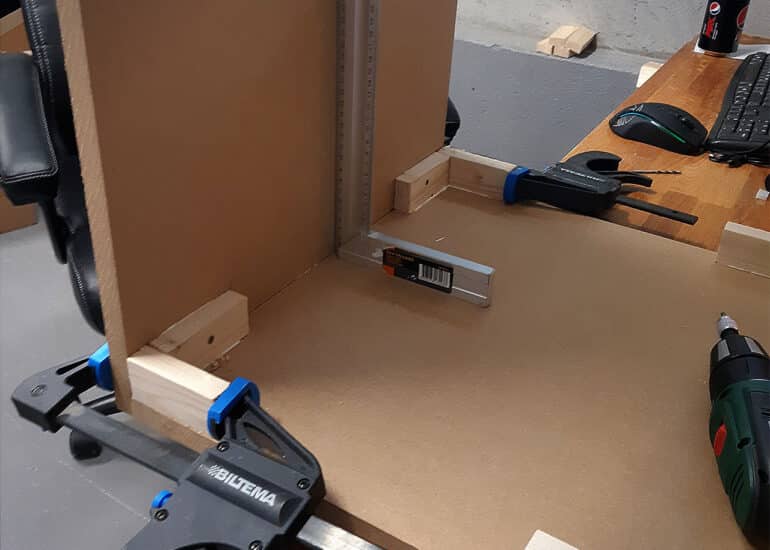
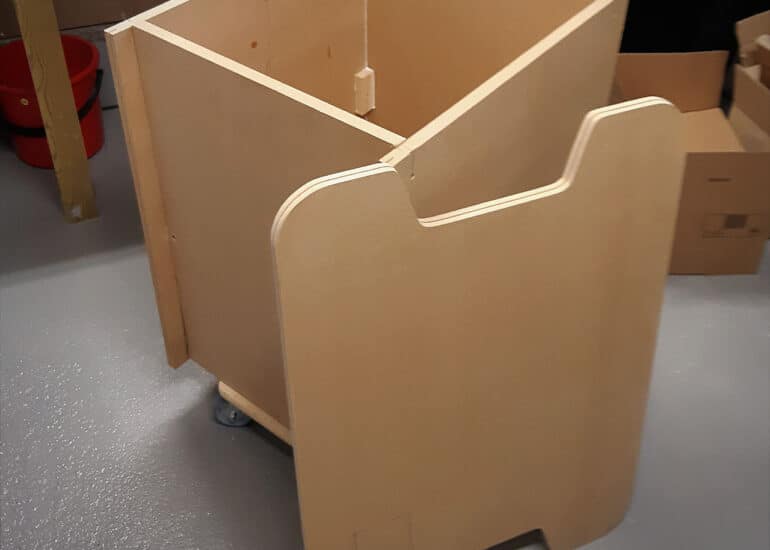
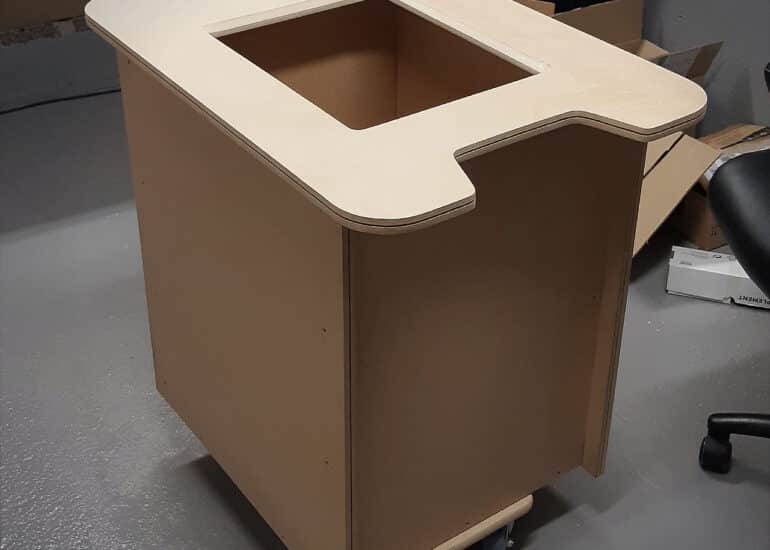
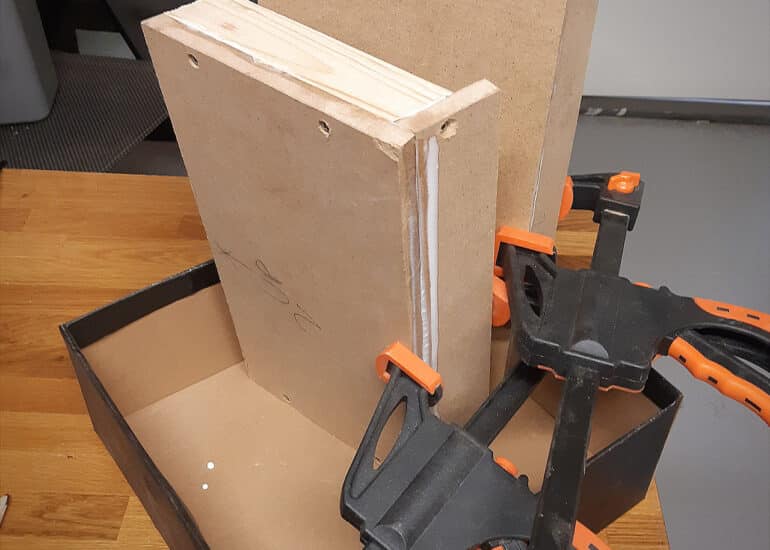
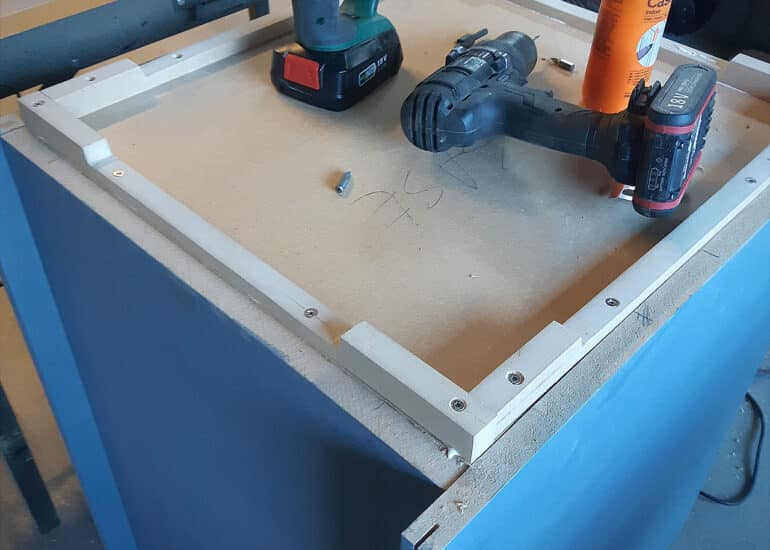
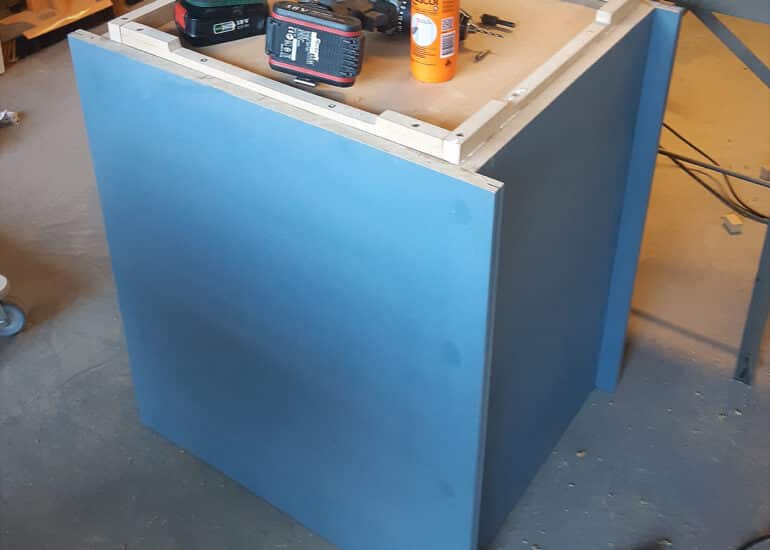
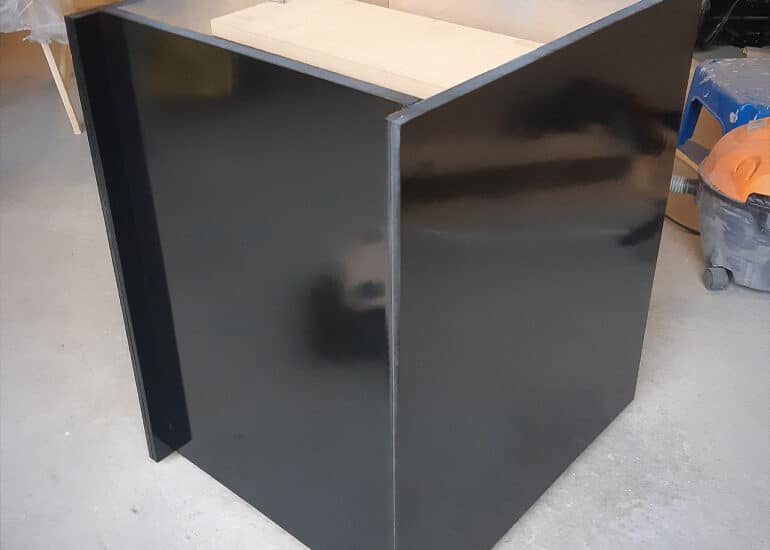
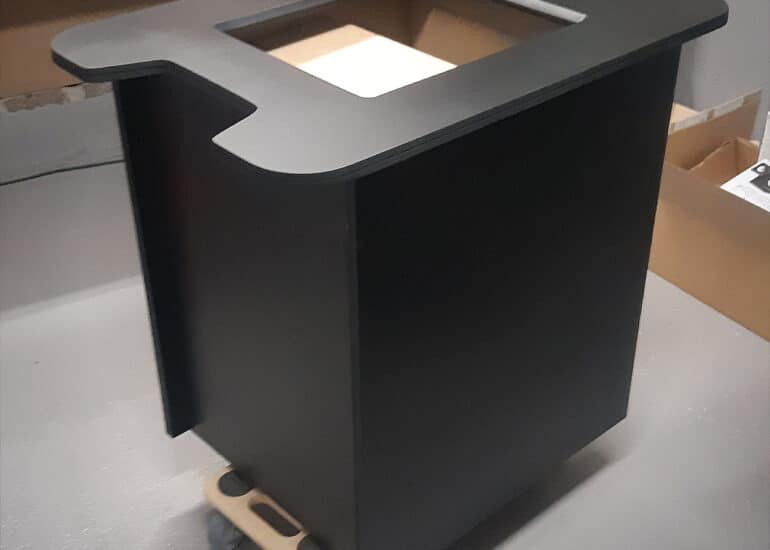
While waiting for the glass to be made, I started making the main body. It's just a simple box and was no big deal to put together. I used small pieces of wood as connection pieces for the screws. I also used wood glue and also some additional screws on the edges between the MDF edges. It'll need those additional wooden connection pieces as MDF will easily bend and pull the screws out if being stressed or juggled ever so slightly.
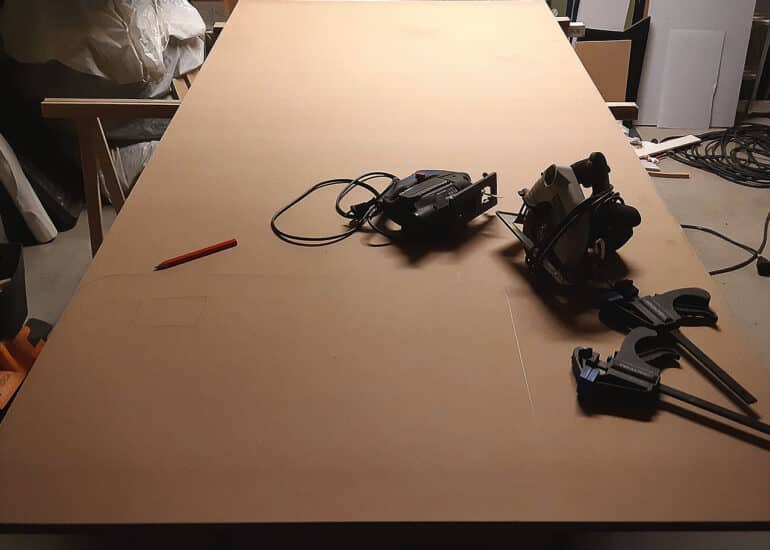
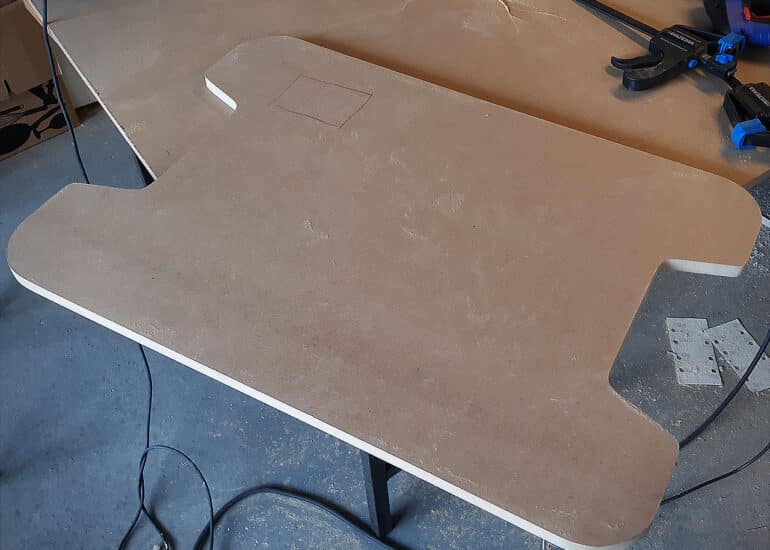
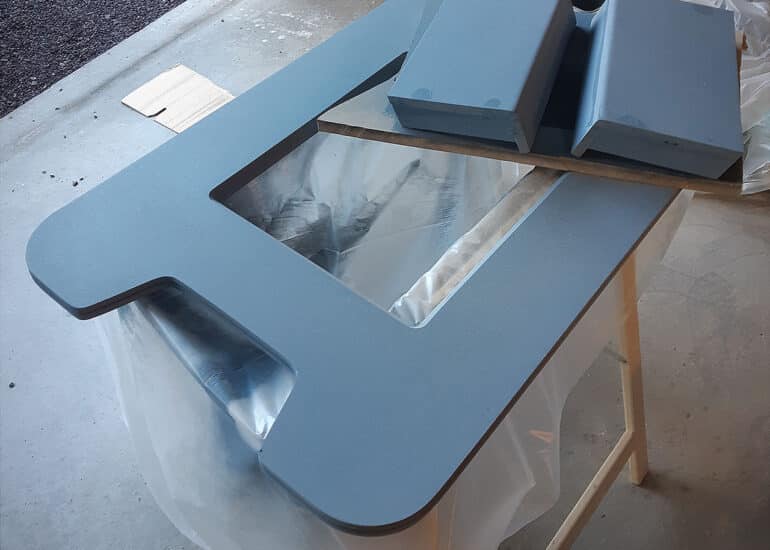
Once I received the finished glass, I traced the shape of the glass onto a large piece of MDF (this to make sure it'll have the very same shape, in case there were any discrepancies during production. I also made a paper template for the gaps above the control panels that will only have exposed glass to expose the control panels for the players. I used a circular saw with a guide for the straight outer edges, and a jigsaw for the smooth corners and those gaps above the control panels. Then a few rounds of sanding using a fairly rough grain to correct any uneven curves.
Screen placement
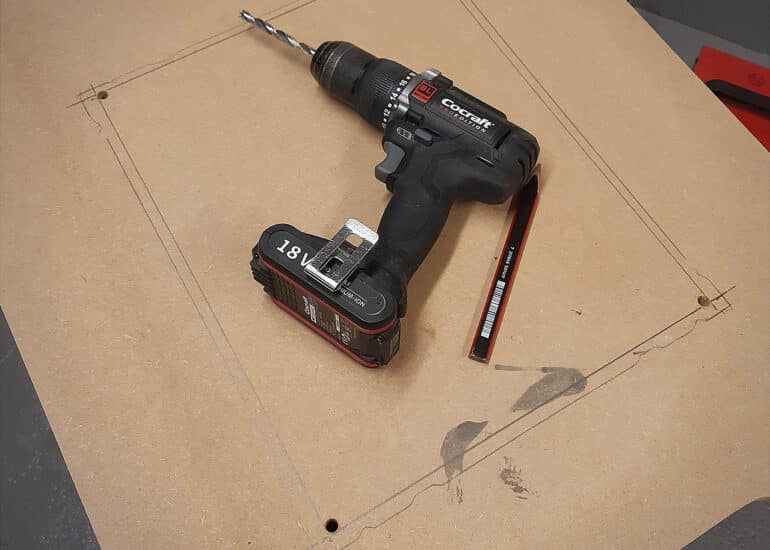
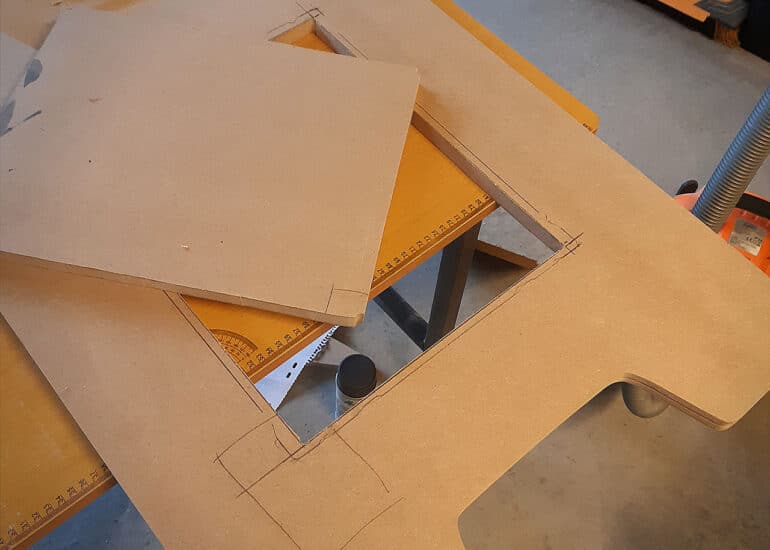
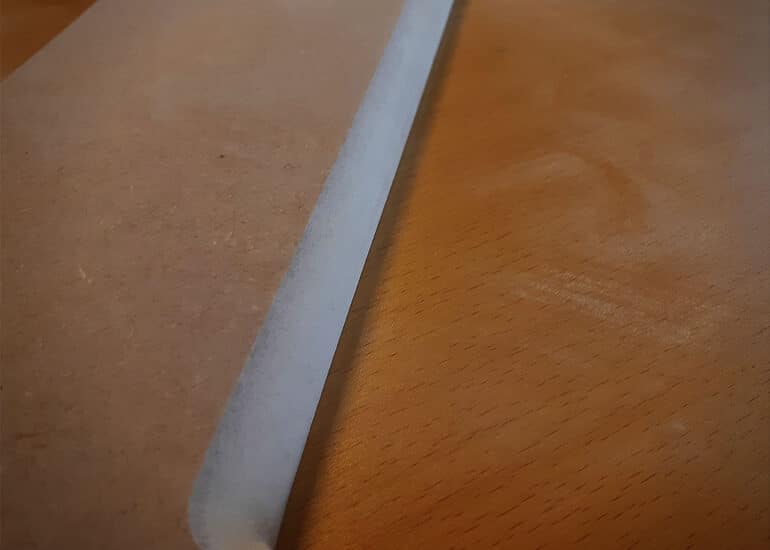
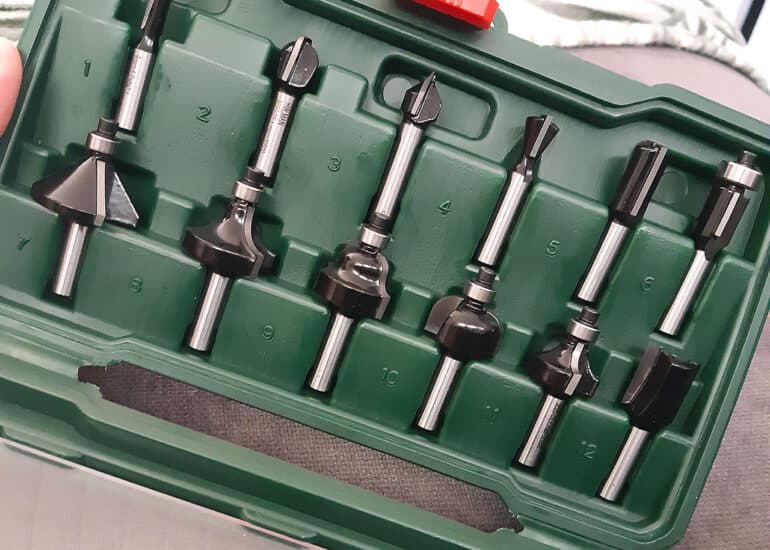
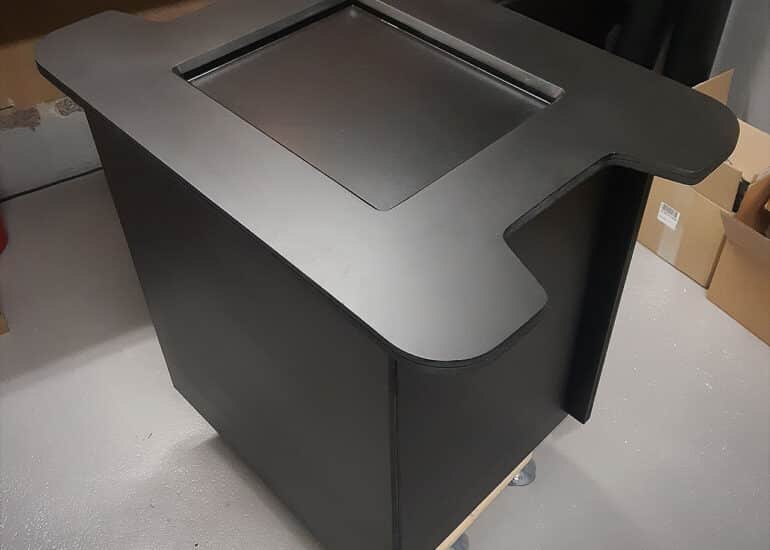
Next I traced the placement of the screen onto the back side of the tabletop and compensated the measures to find the actual LCD screen area. I used a larger drill bit and drilled a hole in each corner, and carefully cut the hole between the holes using a jigsaw. Then I used the sanding machine again with a rough grain and evened out the edges in the hole for the screen. I also used the router with a large cone shaped router-head to route out that nice chamfered edge around the hole for the screen in the tabletop. Then I went over the edges in the hole with finer grain sandpaper until it felt nice and even.
Control panels
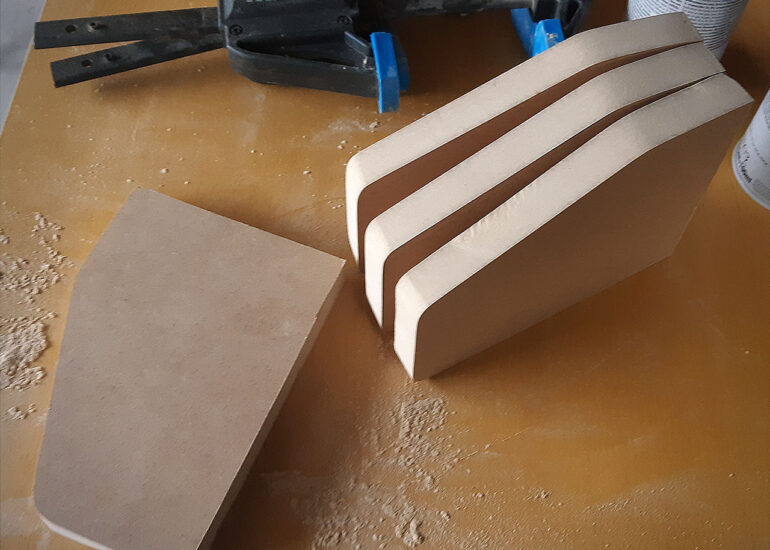
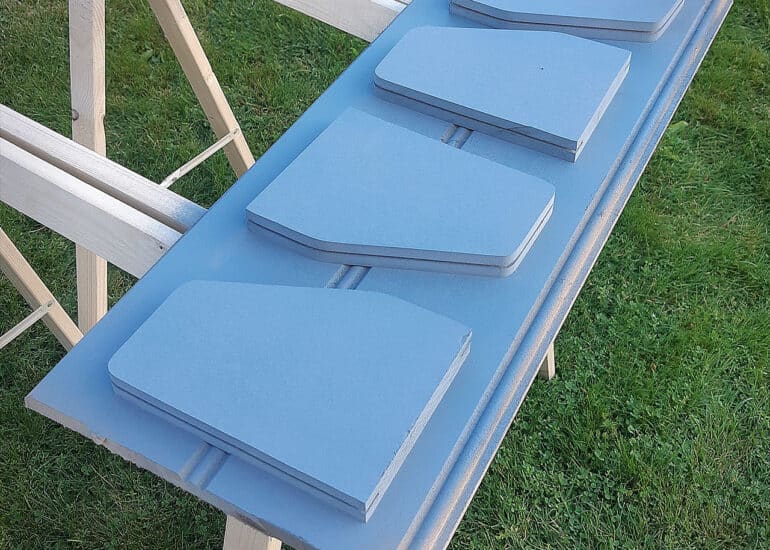
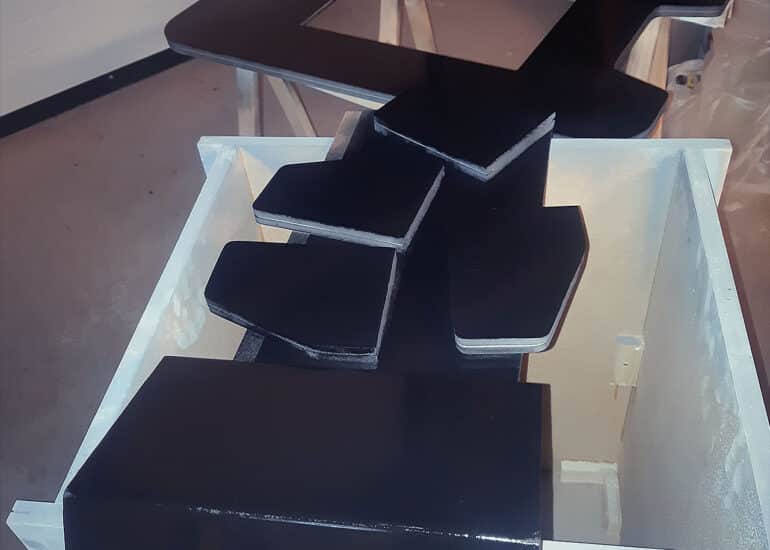
Next up are the control panels. I cut the side pieces out of normal 19mm MDF, clamped them together and used the sanding machine with a rough grain to sand them into perfect identical copies. I found some thin 5mm wall board MDF's that I used for the actual control panel surfaces. This to make sure to have enough space for the buttons inside of the control panels and avoid making them way too big and clunky.
Slot cutting
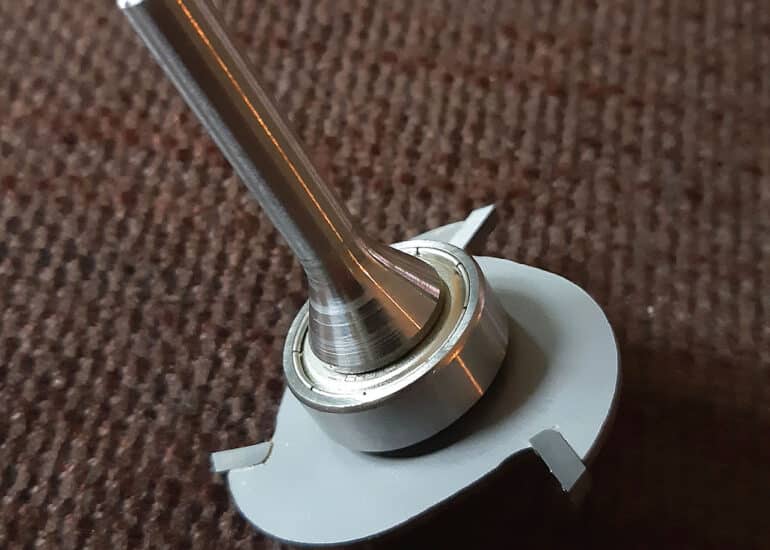
Next up I used my router with the slot cutter blade to cut slots for the T-molding on the vertical edges of the main body, around the edge of the tabletop and on the side pieces of the control panels. This stuff generates a lot of stuff, and you need to do this with a steady hand.
Feet
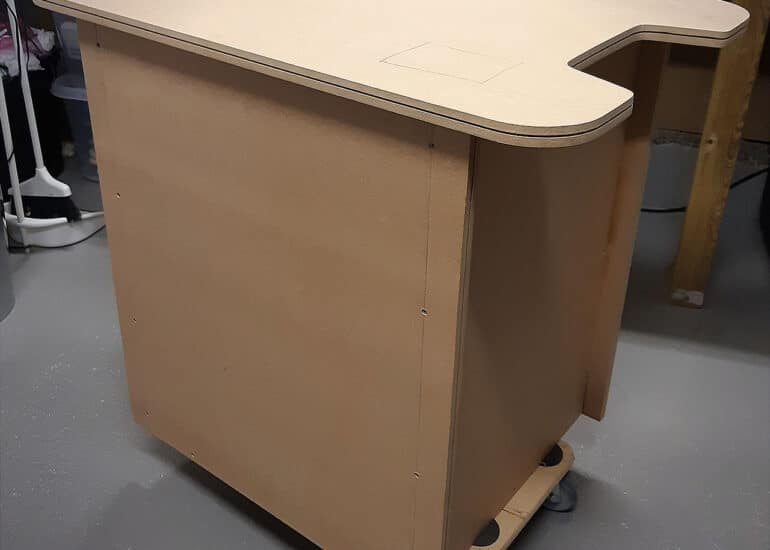
The cabinet need some feet to rest on. I cut some thin pieces of MDF, including a lower section in the middle to have enough space for the power cable to be able to fit in any direction. It got properly fastened with wood glue and screws. I also drilled a hole in the middle of the base to pull the power cable through.
Surfaces
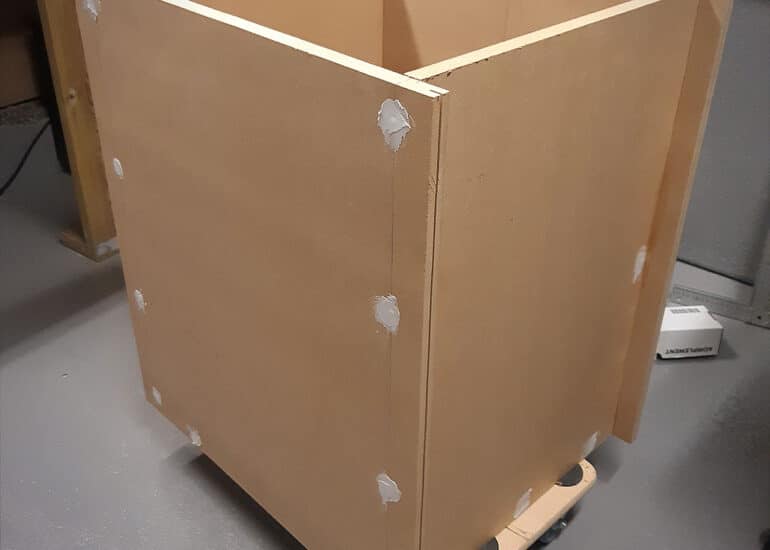
Time to work on the surfaces and finish! I filled all the screw-holes with wood filler, before sanding all the surfaces that will be visible from the outside, cleaned off the dust and added a good coat of primer base.
The control panels needed some extra sanding as I wanted the outer edge to have be nicely rounded.
After this had dried up for about a day, I did another sanding session with a slightly finer grain of sandpaper before dusting off and doing the first coat of black spray paint. Before the final coat I used super fine sandpaper and carefully sanded all the surfaces one last time before adding the final coat of black spray paint.
Screen placement and mounting
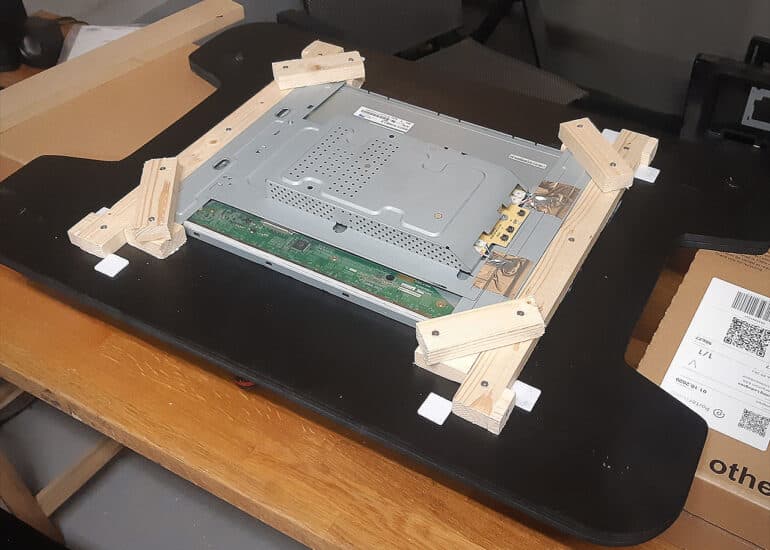
I framed the screen area on the lower side using thin pieces of wood, and added some small pieces of wood to make sure it fits perfectly and snugly into the top hole of the main body of the arcade. Almost like a perfectly fit lid in a slot. Some short diagonal pieces of wood locks the screen nicely in place, and also leaves it easy to remove or replace later if needed. Those small white sticker pads are simply felt stickers that usually go underneath the feet of furniture. I added them to have a nice and soft point between the arcade body and the table top when you close the lid later after assembling.
At this point I also added the hinges for the tabletop onto the body of the arcade. I wanted to get it added before adding the decals on the side to have the decals cover up the screw heads.
Decals
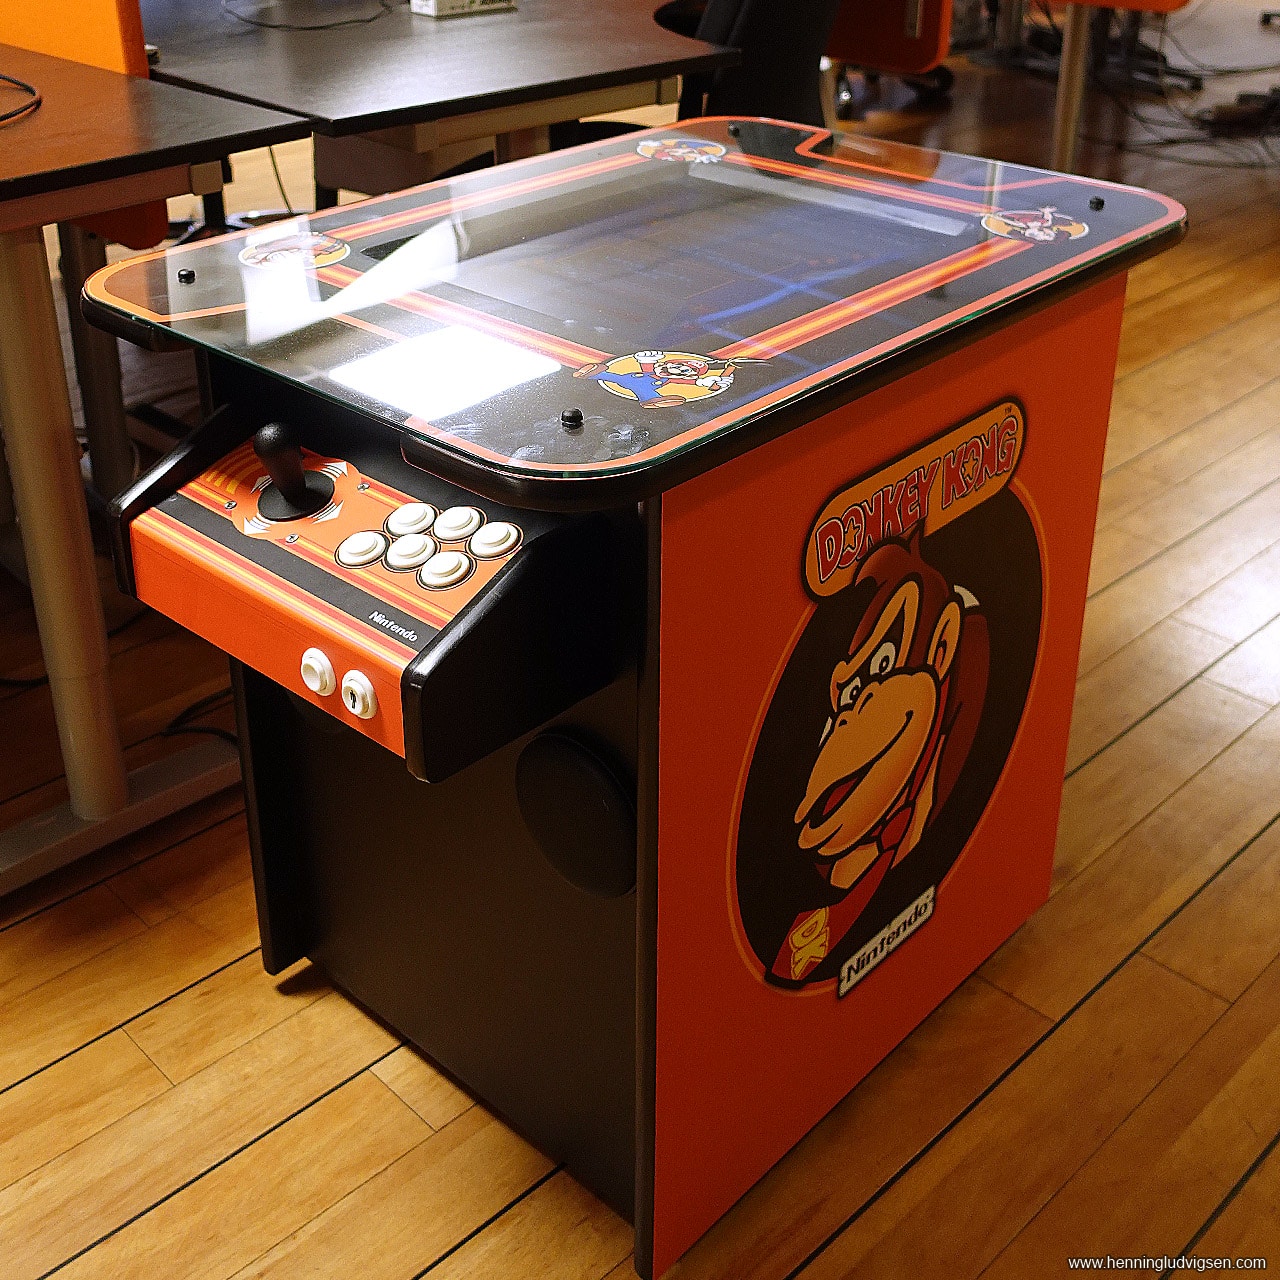
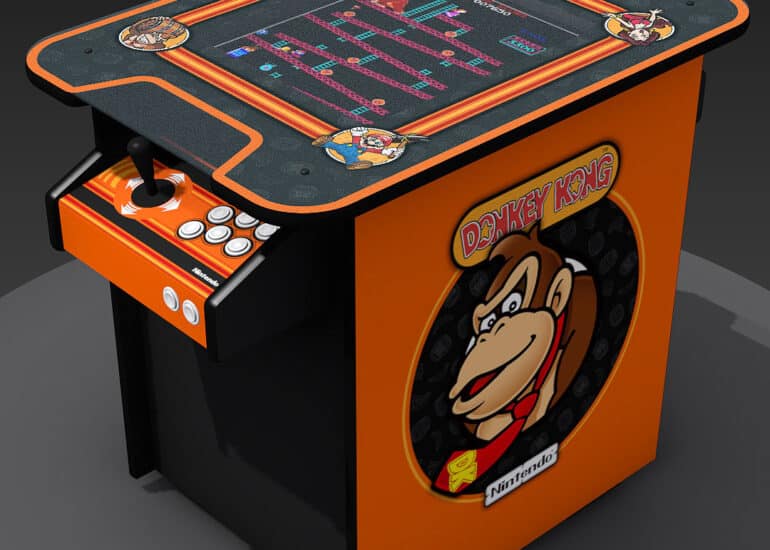
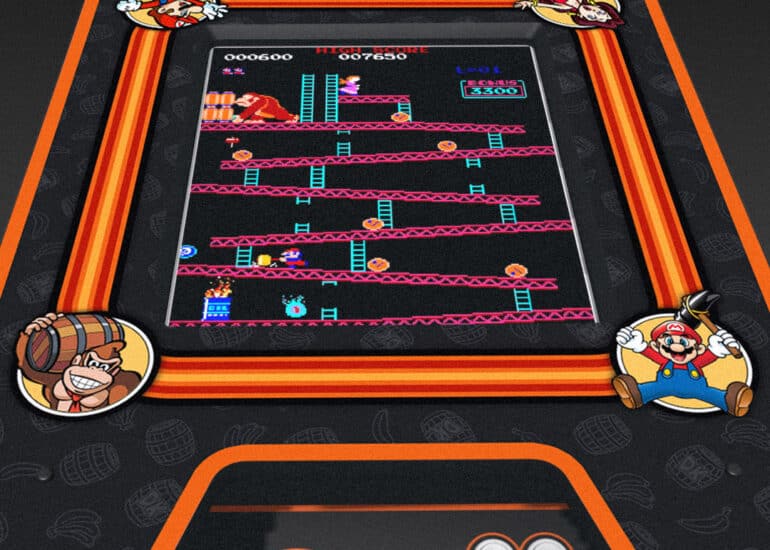
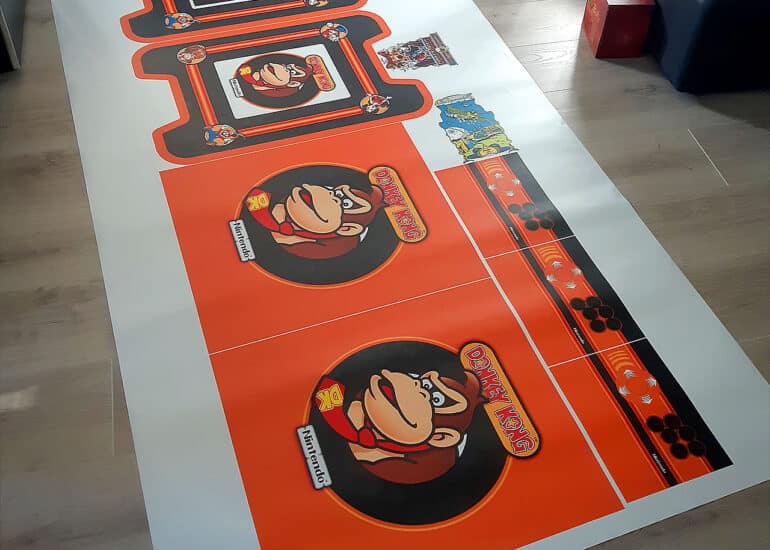
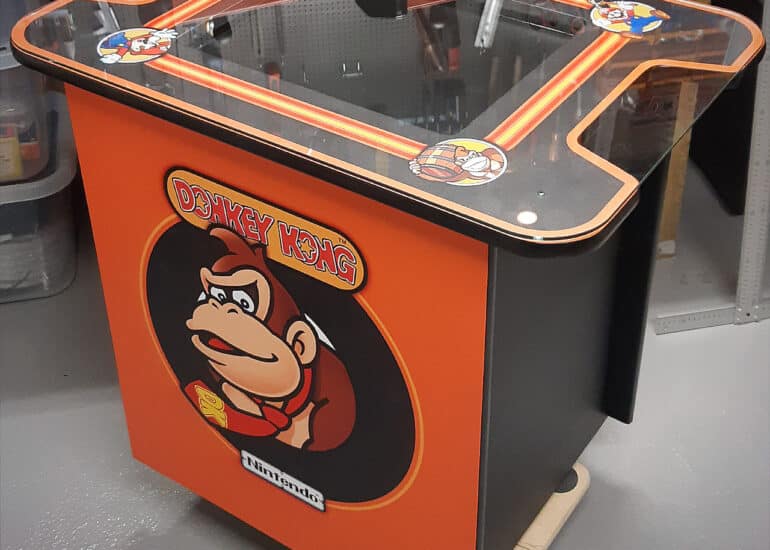
So, since I was building this machine for a friend, we went through a few rounds of graphic design to have it exactly as he wanted. I made the template in Adobe Photoshop, but I UV unwrapped my 3D model to fit the same template so that we could easily preview the different designs on a 3D model. Once decided I sent the file off to the printer.
And just in time when I needed it, I finally received the vinyl decals from the printer. I carefully applied the large decals on the sides of the cabinet, trying to avoid as many air pockets as possible. When applying these, I usually just lay in onto the surface it's supposed to be applied. Then I use masking tape to tightly tape it stuck, approximately on the middle on each side. Next I remove the protective paper on one end for about 15 cm and cut it off. Next I apply that exposed 15 cm of decals using a squeegee, applying it from the middle (same side as the tape). Then I know that the rest will be completely straight when I remove the masking tape, fold the vinyl over, remove the protective paper and carefully apply the rest of the gigantic sticker with the squeegee from the same side it's already been applied, little by little, trying to squeeze every tiny pocket of air along as it gets applied.
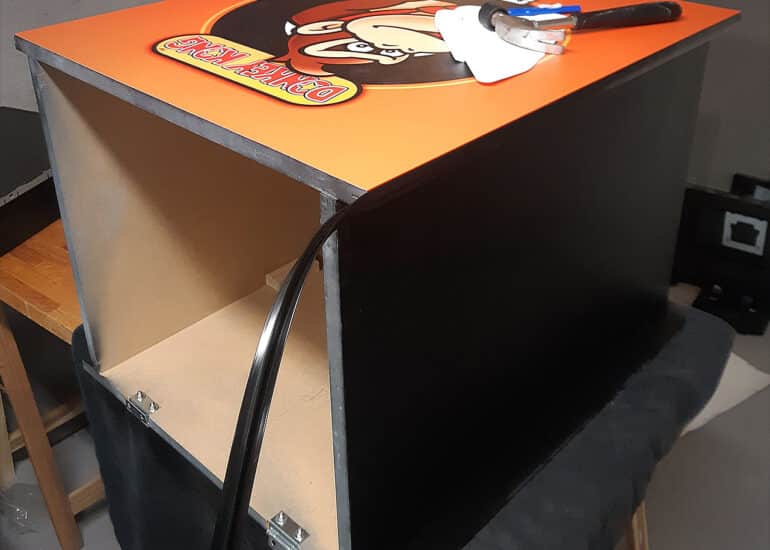
Next I attached the tabletop to the hinges on the main body and made sure it opened and closed properly. I also made a makeshift stand for easily being able to leave the tabletop in an open position for easy access to the inside of the cabinet. The person who wanted this arcade didn't want a coin door, and we figured that having the entire tabletop function as a door would work well.
It was a bit more challenging to apply the decal sticker for the tabletop due to the hole in the center. It tends to not match up properly once you're on the apposite side from where you started, but after correcting it and sliding the small folds that appeared by force, it finally settled as it should and turned out all right. I cut the edges off carefully with a thin razor knife.
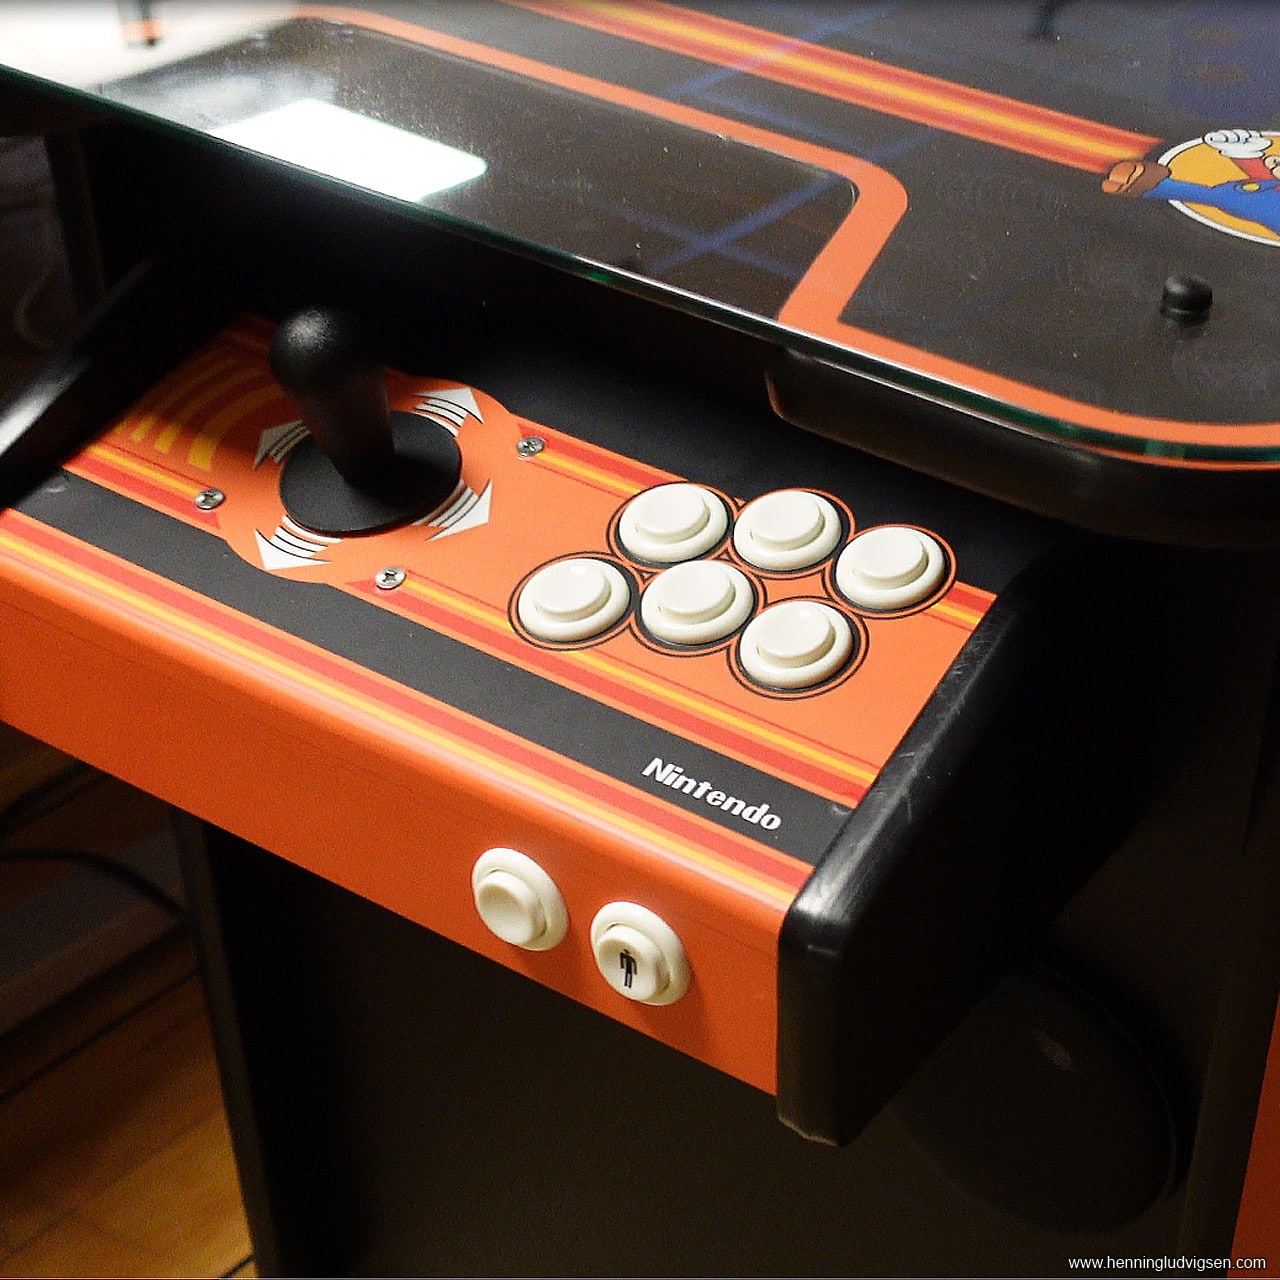
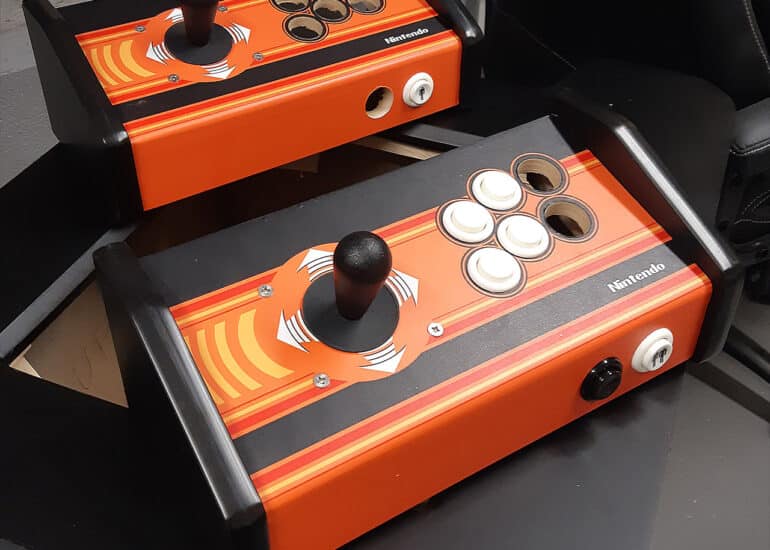
For the control panels, I didn't attach the sides as I knew it would be easier to apply them later. For starters, I added the decals to the control panels, which contains the placement of the joystick and all the buttons. Then I drilled the holes for all the holes based on the decals. Lastly, I applied the sides of the control panels properly.
T-molding
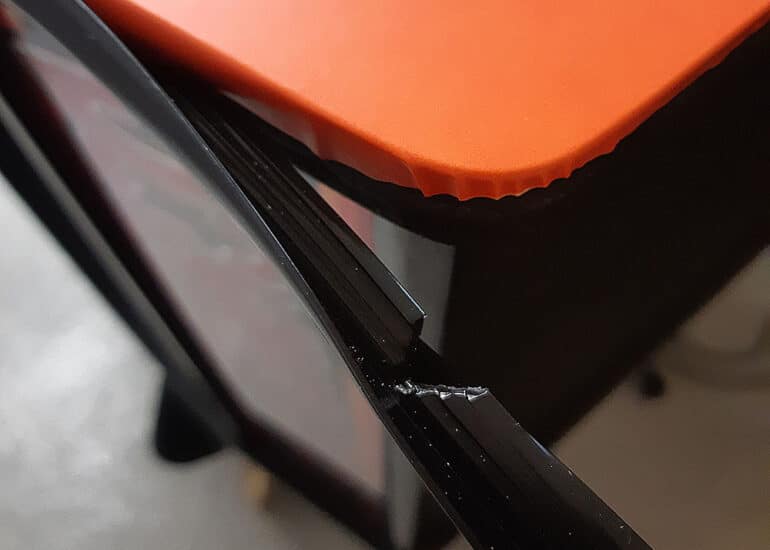
Next, I attached the tabletop to the hinges on the main body and applied the T-molding. It was pretty straightforward applying T-molding to this cabinet model as it didn't have too many complicated shapes or edges. I just had to make sure to cut off wedges of the slit that goes into the slot in the curved areas, and hammer it in carefully with a rubber mallet. There are plenty of videos on the internet showing how to do this properly.
Controls
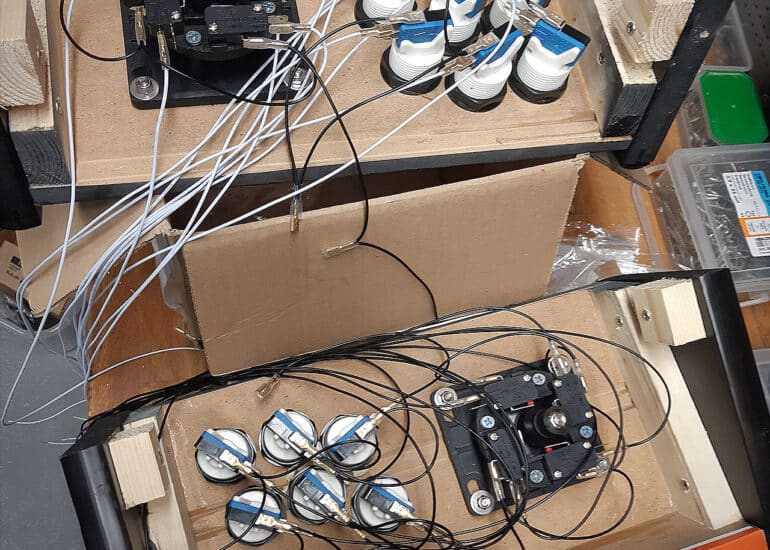
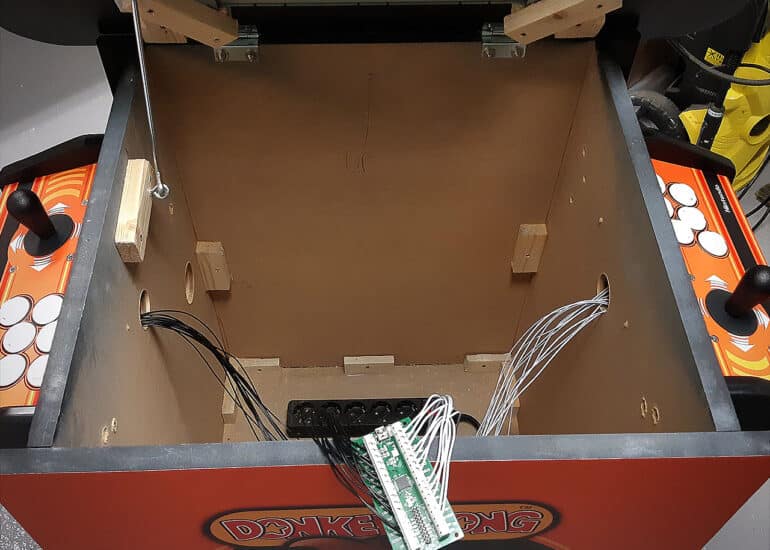
Then I attached the joysticks and buttons and started the wiring process. I left the control panels lose while I was still doing this for easy of work. Once the I-PAC2 controller interface board was fastened inside of the cabinet, I also fastened the control panels. I made sure to use what I'm assuming is a standard connection plan and order for the buttons and controllers.
Final stuff
Next I attached the Raspberry PI 3b+ and and made sure everything worked as it should.
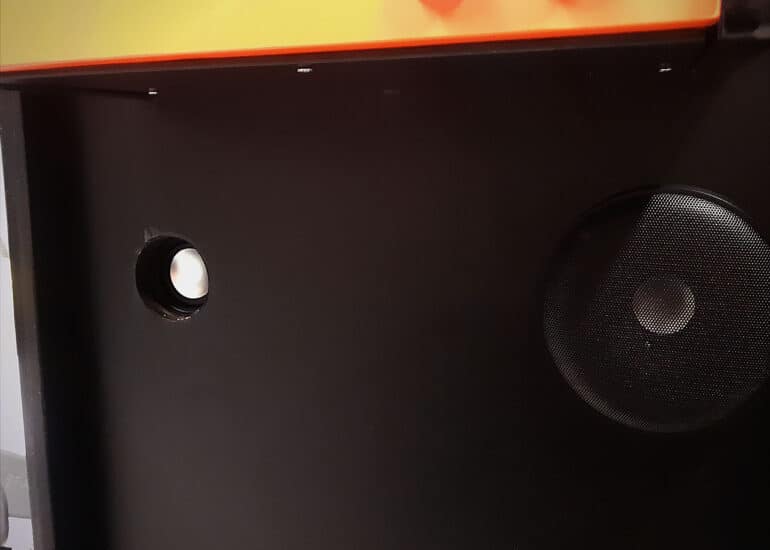
I also drilled holes for the speakers in front on the player 1 side of the main body and connected the sound system.
The last thing I did with the cabinet itself before attaching the control panels, was cleaning the screen and top properly, along with the glass. I placed the glass and carefully attached it using some screws, including these fancy plastic covers to hide the screw heads and also function as a soft spot between the metal screws and the tempered glass.
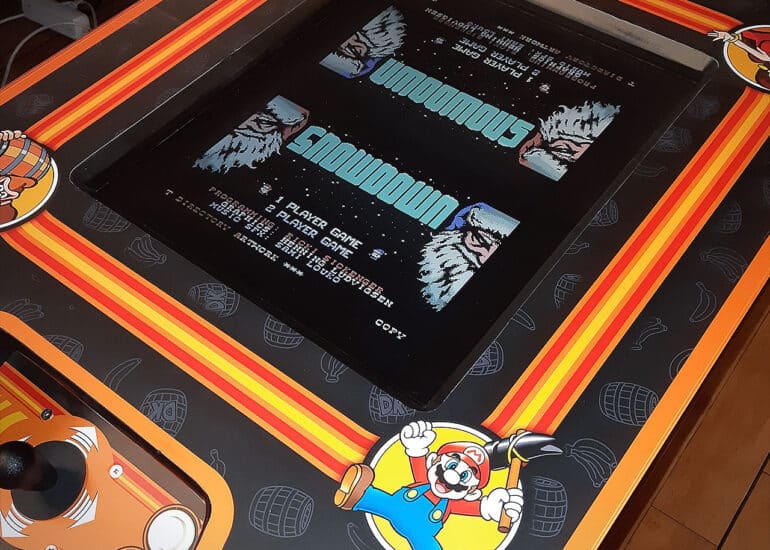
The last bit is mostly setting up the software. I've got a good image with 18.000+ games on tons of platforms, but it mostly works and looks best on a more modern landscape aligned widescreen. With this being a 4:3 screen and in portrait mode I had to use a different theme that was basically lacking all the artwork for the menus. By simply accessing the Raspberry Pi from my computer, I figured out how to make my own art that fit the image and made my own custom theme. I also had to add a line of code to the config file to be able to flip the screen 90 degrees and into portrait mode.
I also learned from the awesome guy at Game Room Solutions how to rotate the screen and also adjust the games to function as a cocktail cabinet. There's also a fancy shader you can apply to mirror the screen to the opposite side for playing 2-player games, as you're sitting opposite each other on these cabinets. I highly recommend checking out his videos for anything related to this.
PS: Not every game supports either the shader nor cocktail mode, so you'll have to do some try and error to figure out who works and how doesn't.
Controller issues and solutions
My finally challenge was the controllers as they didn't seem to work as intended and would only be recognized as a keyboard. I wanted it to function as 2 separate controllers. I did know that it would work by attaching a normal controller, so I knew that it was possible. After a few weeks of struggles I eventually contacted the creators of the controller interface board, and learned that this controller interface board has 5 modes. Mode 1 = keyboard and mode 2 = two separate USB controllers. Once I changed modes everything works as intended and I could finally deliver the machine to its new owner.
I got most of my parts from ArcadeWorldUK, and I highly recommend them.

Fantastic build and post! Very nice digital art work as well.
This is a great resource for building a cocktail arcade machine. Thanks for sharing.
Thanks for visiting! Happy to hear that there might be some useful info here 🙂
I’ve been following these, building myself a christmas present. This has been inspirational, thankyou. My only suggestion to people is to not stress too much about the wood sizes. In my country, MDF comes in 45cm and 60cm so I tweaked the measurements to save myself some cutting.
Yes, all measures can definitely be tweaked for convenience or preference. Good luck with your build! It feels great playing nostalgic games on something you’ve built with your own hands 🙂