
When painting glass and reflections, how does one go about creating distortion and refraction?
Glass varies from colour-tinted to embossed patterns making reflections and distortion very complex, and it’s impossible to understand this thoroughly. Still, don’t worry, as all you need is to do is achieving the illusion of glass; just enough to convince the viewers.
If we take perfectly clear glass into consideration, what makes up for the illusion for this specific type of glass is using heavy high-lights, reflection when looking at sharp angles, and high transparency on flat surfaces facing the viewer, and distortion and/or refraction, depending if the glass is solid, or hollow.
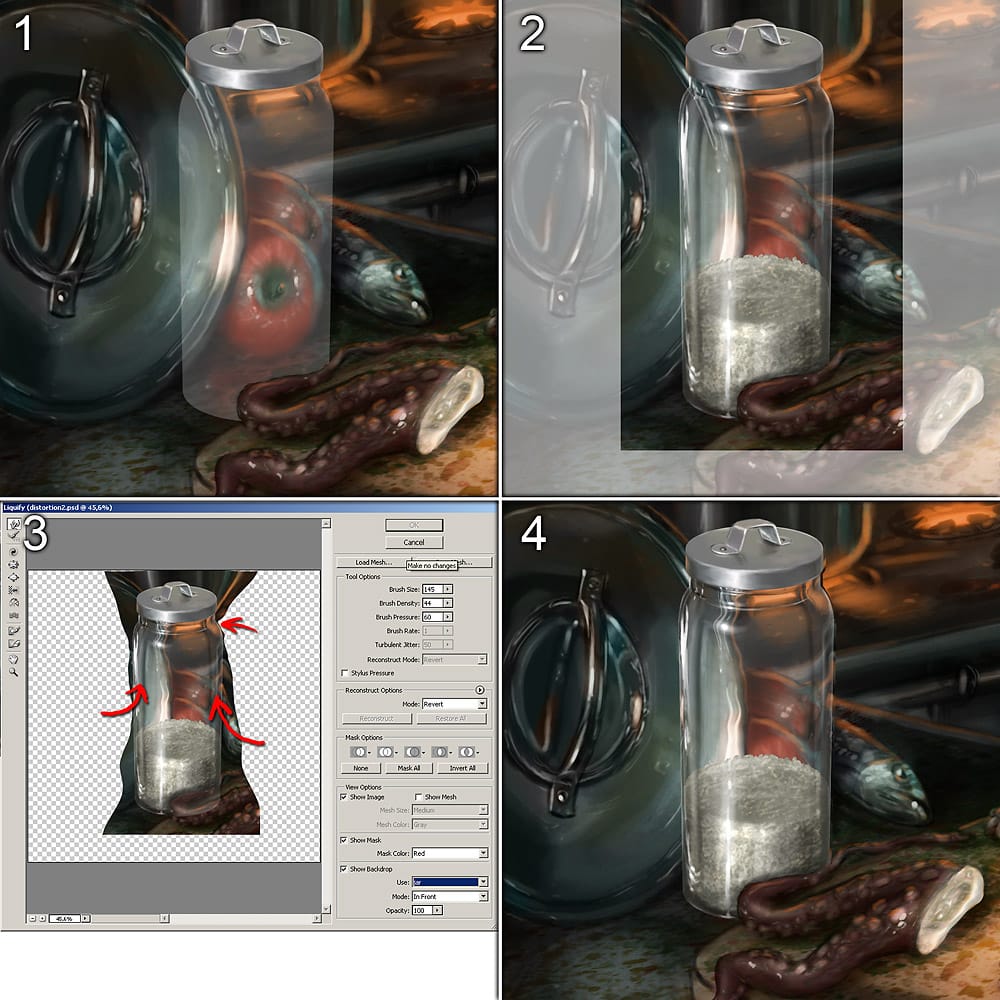
A simple way of creating this illusion is first to paint the outline of the glass object in a separate layer (1), and then paint on the highlights on another layer on top (2).
To create distortion, make a copy of the background behind the glass object (2), and make sure to include quite a large chunk so that you have enough information to work with.
Now, with the piece of the background in a separate layer; open the Liquify filter (3). To be able to see where to create distortion, make sure to tick off the “Show Backdrop” tick-box, and select the layer with the glass jar on the “Use” drop-down, and set “Mode” to “In Front”. Now, use the Forward Warp tool, and push the background image so that you have heavy distortion where the glass is seen through a sharp angle; like on the sides. Lastly; delete the distorted elements outside the outlines of the glass jar.