
Core drawing skills and workflow
Nail down your own core drawing skills, and start building your very own methodical way of working to reach your goals.

(C) Henning Ludvigsen
“How do you work?” – is something most artists get asked often. I think this is what makes art so very interesting, because it’s our individual ways of working and skills that differentiates us from each other and makes our paintings unique.
Build your workflow methodically to get the most out of it. There might by elements that you can pick up from looking at fellow artists and supplement into your own personal workflow.
Workflow
No one should tell you how to work, and you shouldn’t try and copy others workflows either. Create your own recipe. By looking at tutorials, studying art works, you will build your own perception, and a way of working that suits YOU best. A workflow should be a constantly changing, including constantly improved series of actions you do to get your job done. We could call it a methodical way of working.
Create a methodical way of working
We all have different ways of working. No matter what you prefer, it’s part of your methodical workflow.
Jumping straight into the task with very little planning may cause more frustration and extra work, so hold your horses and think things trough and break it up into steps.
Methodical workflow, step 1 – Understanding and overview
First of all, make sure you understand completely what your client is asking of you. At this stage in the creation process, it’s very easy to misunderstand, and to be misunderstood. Remember; it’s YOUR responsibility to make sure that you understand all the specifics before starting out. Ask a lot of questions to narrow down the uncertainties to make sure that you and your client is on the same page.
Methodical workflow, step 2 – Analyze and research
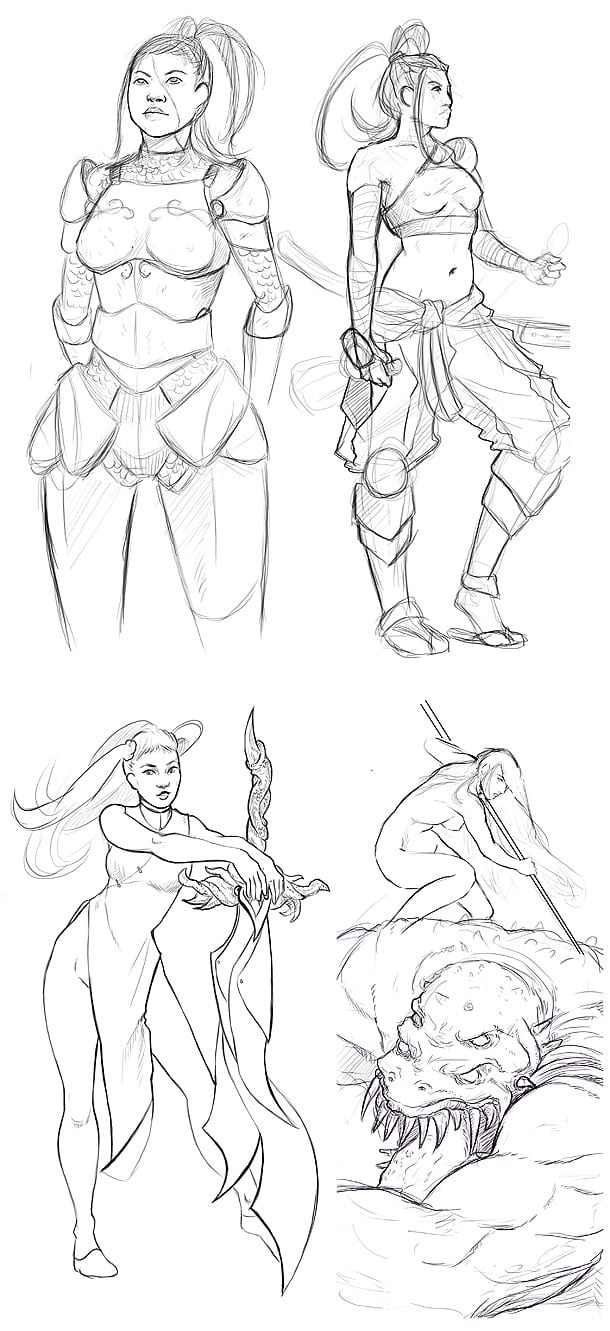
(C) Dan Howard
Once you have a decent idea of what is being asked of you, do a lot of research, and break up your process even further. Make a few sketches to make sure you have a couple of rough ideas to pick from. Here, Dan Howard has been playing around with some sketches of a female warrior character in different poses and expressions.
Methodical workflow, step 3 – Chose idea to present
Now, you need to pick a couple of your ideas to present to the client. It’s easier for a client to turn down one simple sketch completely, rather than getting two or three in which they can pick their favourites from. Get a friend, to give a honest critique to help you narrow down your choices. A fresh eye isn’t biased, and can help out when it’s hard to decide yourself.
Methodical workflow, step 4 – Create the final painting

(C) Dan Howard

(C) Dan Howard
When the client has chosen and approved their favourite sketch, you have the fun part left; the painting process. It’s nothing like having an approved sketch to work from, and it should feel like a reward. Here, Dan Howard was finishing sketch suggestion number four. And remember to always strive to deliver more than you promise. Doing this will reward you with returning clients.
Methodical workflow, step 5 – Evaluation and experience
The last part of the methodical workflow is getting the final approve from the client, and this usually take a couple of rounds. Now, spend time after to evaluate the final result, as your client and the public will look at and critique your work. If the feedback isn’t as you hoped, don’t take it personally. We all have different taste, and it’s impossible to make everyone happy. Always add valuable feedback and new experiences to your workflow and do a better job next time.
Core drawing and painting skills
Knowing the basic art theory and principles will get you a long way. Still, you can keep on digging deeper to perfect your artistic skills. There are many small tips and principles that can push your art a lot further.
Core skills – Use edges to create tension
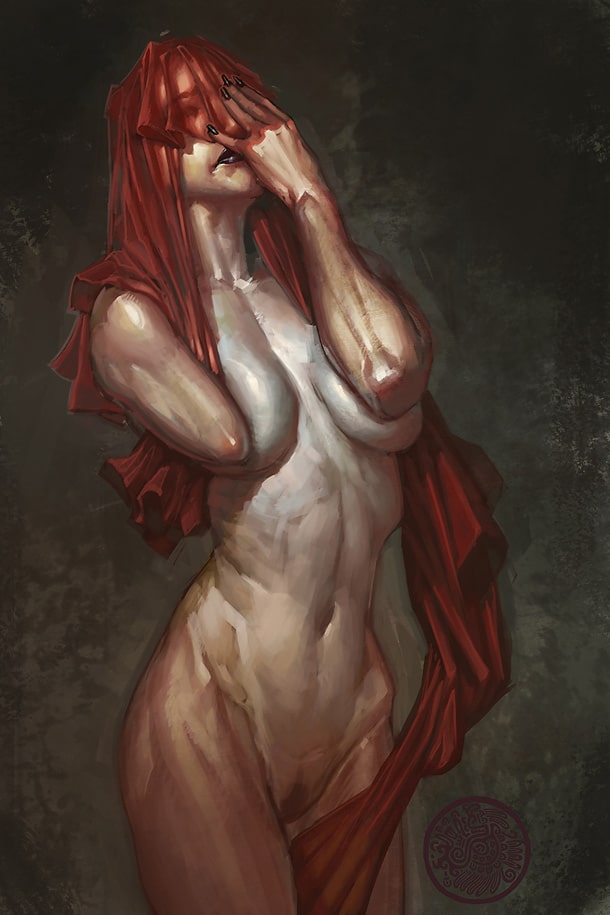
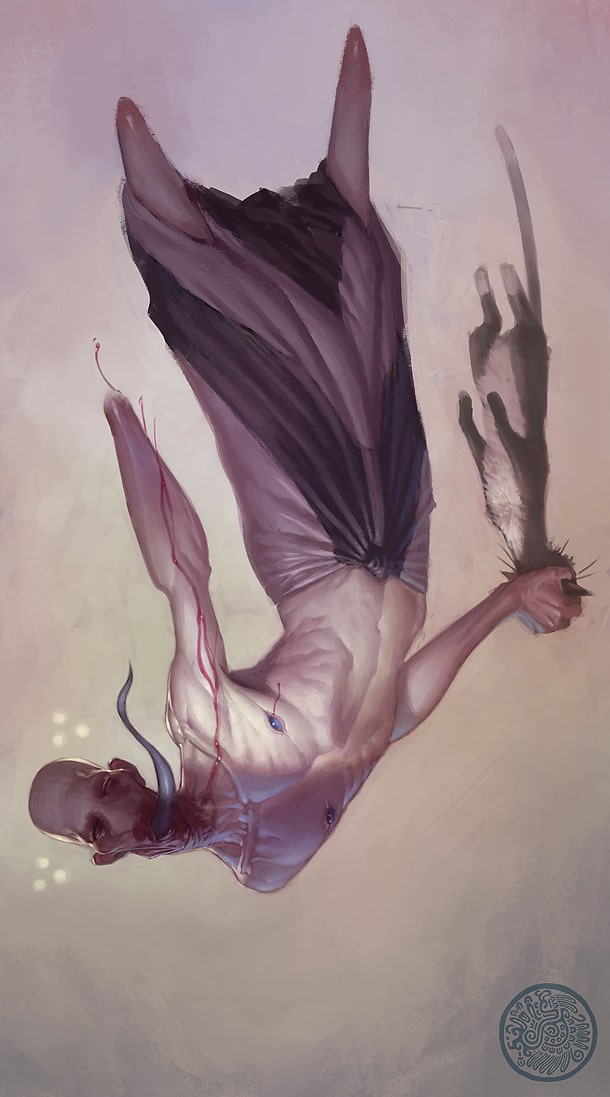
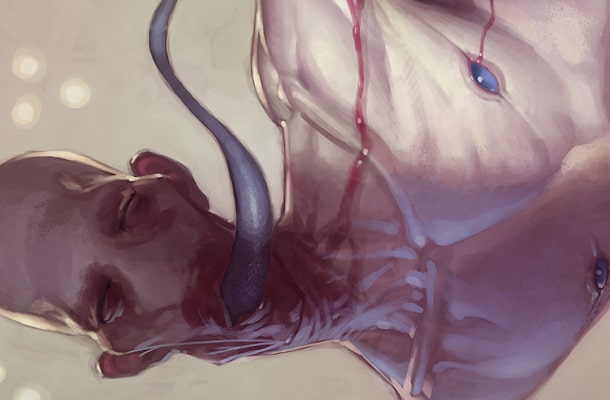
(C) Izzy Medrano
Always know what your graphical expression should be like before painting. To add more attitude and tension to your art; break up your line-work and brush strokes into straight lines and edges, rather than long and soft. This goes specifically for organic shapes, like anatomy or fabrics folds. When drawing nude from life, introducing edges in your outlines can make a world of difference when mastered as well as Izzy Medrano clearly does in this example.
Core skills – Perspective
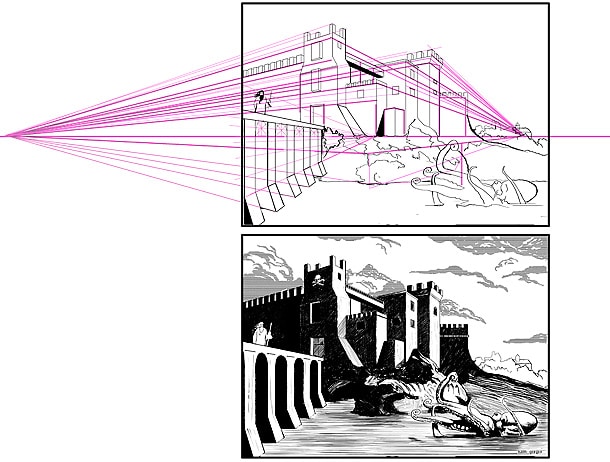
(C) SamGirgis
Going old-school by using vanishing points and help-lines to establish your perspective gives you a sweet feeling of achievement.
Mastering perspective doesn’t have to be hard, as you can keep it simple. First, sketch up your image to settle the horizontal eye level line, and placing your vanishing points accordingly. There can only be one eye level line in a drawing like this, and how you place the eye level line will determine the “camera” angle. You can have as many vanishing points you want, but they must all be on the eye level line, at least if the objects are to be vertically straight according to each other.
It’s good practice to keep your vanishing points far apart. The closer they are to your object, the more distorted and warped your object will end up. Using a wide canvas during the help-line stage is clever.
“Remember; circles, ovals, or arches are nothing more than a square with rounded corners. If you know how to draw squares and boxed in 3D, you can draw an entire city”, as Sam Girgis said when drawing this castle.
Core skills – Line weight

Line weight refers to the thickness of a line, and is a powerful way of bringing life to your line art. Here is the short explanation; use thicker lines on objects close to you, and thinner lines on objects further away. If all your line art has the same line weight, it will appear flat and dull even if your add values and nice colours after blocking it in.
You can also add thicker lines for the shadowed sides of objects, and thinner lines for the highlighted sides to add more shape.
You should also apply thicker lines where lines meet other lines. This is specifically nice when drawing line art hair, clothing folds, or hands. On separate, lone lines, thicken the line in its centre, and leave it thinner towards both ends.
Core skills – Colour your lines
(C) Michael Dashow
(C) Michael Dashow
Having the perfect line art with line weight isn’t always enough to go the extra mile if the line art is kept completely black.
Take this tip from the animation industry, where the line art is subtly colour tinted according to their respective blocked in surface. Also playing around with layer opacity afterwards to make the line art even more subtle is nice. Michael Dashow is using his coloured line-art layer at 50% opacity in this example.
Core skills – Blending techniques
Digital painting software has options for creating all sorts of complex brushes suitable for interesting blending results. This, combined with artistic skills, and you have a winning team.


(C) Andreas Rocha

(C) Andreas Rocha
Andreas Rocha used Painter’s Loaded Palette Knife Tool for blending in this painting. It allows for a wide array of brush strokes, while somewhat picking up underlying colour depending on pen pressure, which makes some really vibrant colour combinations.
(C) Izzy Medrano
(C) Izzy Medrano
Izzy Medrano treats his transitions in colour over a form, much like he does value. Every step into the lighter or darker should not just be a new value but also a new colour hue. This leads to explosive colour, not excessive blending between only two colours for a middle tone.
Core skills – Ambient and light ties together
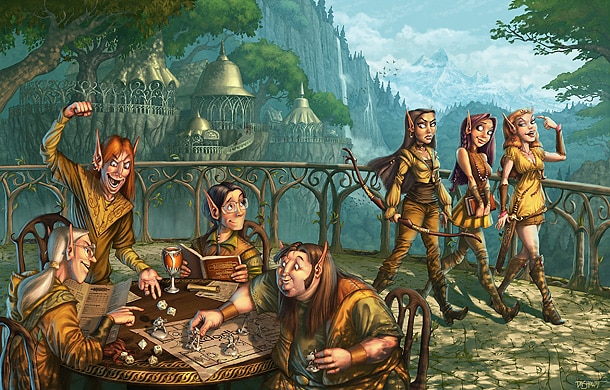
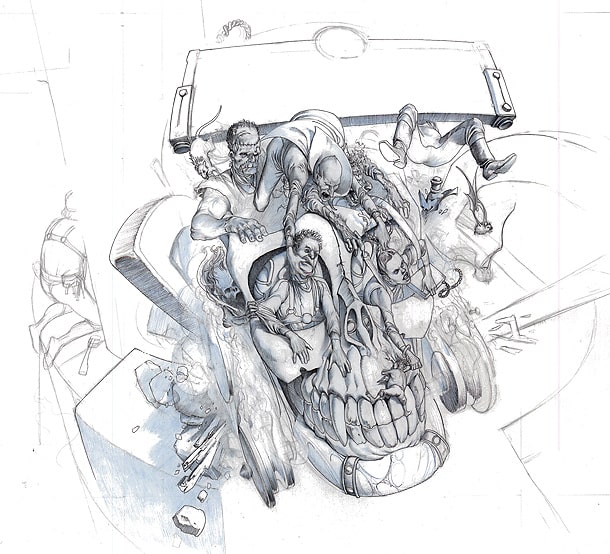
(C) Henning Ludvigsen
To make your piece come together, you need a good understanding of light and shadow, along with how light bounces off surfaces, and how elements are reflecting in shiny surfaces. These final details are what will make your piece really come together, and give the feeling of materials, grounding, and atmosphere.
Core skills – Drawing exercises
Have got a drawing tablet for you computer? It’s still important to do some basic drawing exercises with pencil and paper. Here are some basic drawing exercises I feel that I gained a lot from in traditional art school.
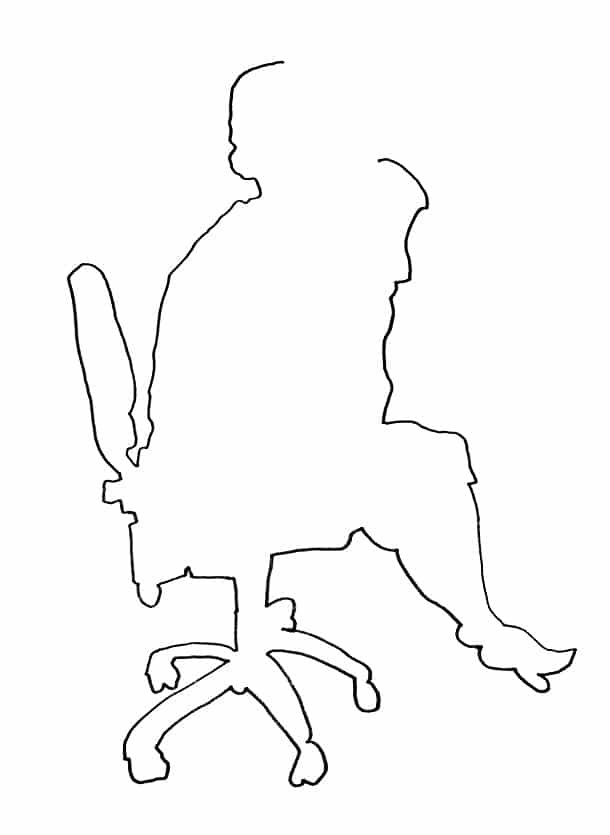
- Without looking at the paper, or lifting your pencil from the paper, draw the silhouette of different subjects. Don’t spend more than 30 seconds to 1 minute on each. This will help you controlling your hand without looking at it, and exercise your feel of proportions. What?! “The end doesn’t meet up with where you started”, you said? No worries, it’s completely normal and this will help training your coordination and estimation skills.
- Get a friend to do 1 minute poses for you, while you’re doing quick pencil drawings to capture the pose. This helps you to become bolder with your brush strokes, and it is also great practice in dynamic anatomy.
- Get some sun and fresh air by bringing your drawing pad and pencil outside. Sit down somewhere and secretly draw random people talking to each other. This is a great way of getting familiar with natural poses, and besides; drawing subjects that might change postures any moment keeps you on the tip of your chair.
Bonus tips!
1 – Get to know your subject.
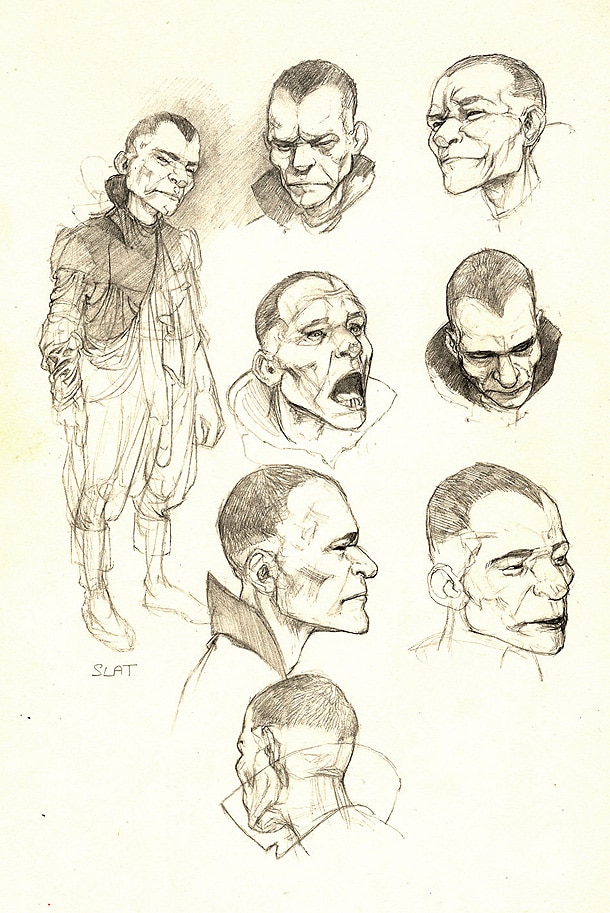
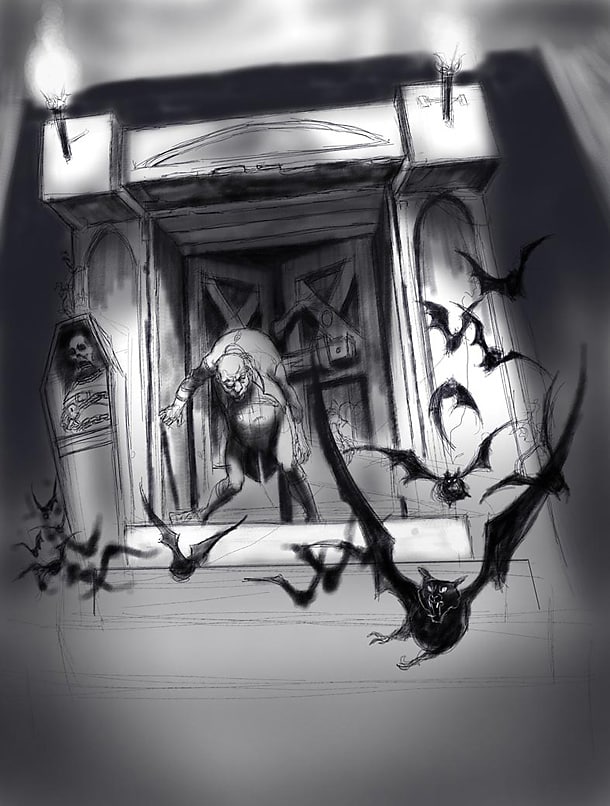
(C) Nick Harris
When you’re on an assignment for a client, or even for your own, personal projects, familiarize yourself with what you’re painting. If you have to create a character, which you think will be used in different situations later, make sure that you can visualize and draw this character from different angles and with different attitude. Do some sketches for yourself to get to know your subject well, as Nick Harris did with this fellow.
2 – Concepts is key
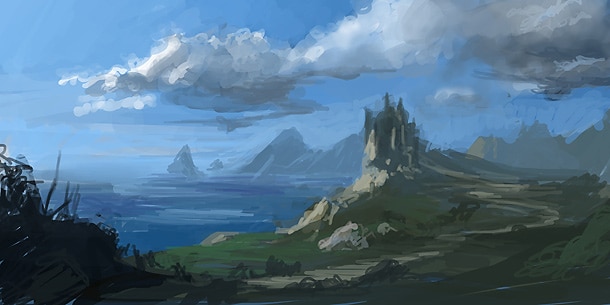
(C) Andreas Rocha

(C) Andreas Rocha
Old news, but it can’t be told too many times; creating rough concepts of your work is important both for your and your client. Make sure you don’t spend too much time at this phase of the production and create a “mood sketch”, for yourself to find the best look and feel for the idea, and it also to give your client a good preview of what is to come. If your client was looking for something different, this is the stage where this should be announced, and not when you’ve spent a lot more time. Andreas Rocha made a rough sketch before fleshing out this amazing landscape.
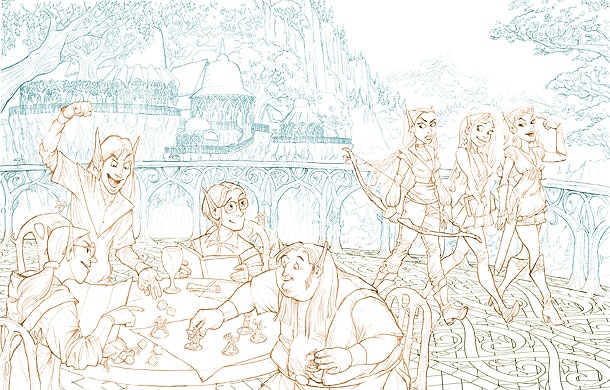
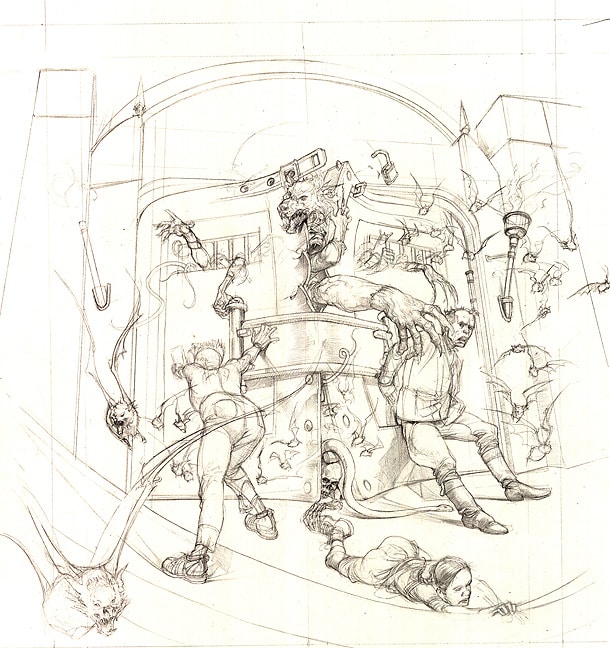
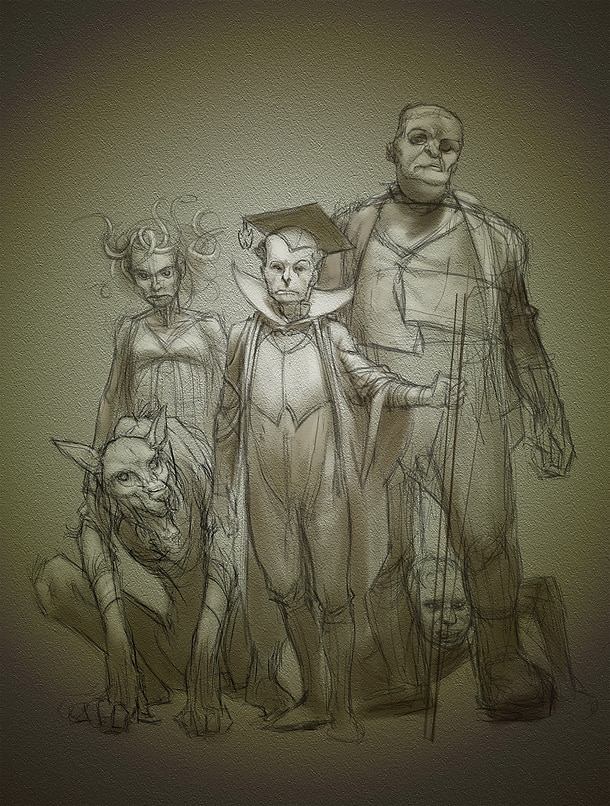
3 – Brainstorm with yourself
As mentioned in this article, doing pre-work before starting a project is important. Still, this doesn’t mean that you can’t have a good time doing a little artistic brainstorming with yourself. Here are four sketches Nick Harris did for a project, and there’s no doubt that having fun with what you’re doing will reflect on the result of your art and add more life.
(C) Nick Harris
(C) Nick Harris
(C) Nick Harris
(C) Nick Harris
More bonus tips!
Step 1 – Sketches and studies
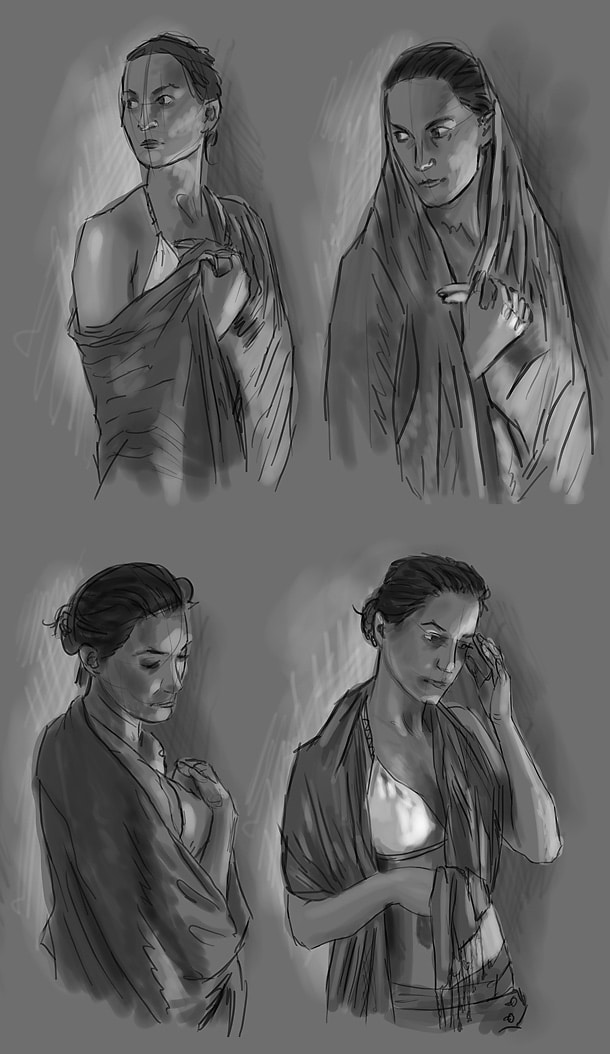
(C) Henning Ludvigsen
It’s important to do some studies before deciding on the final pose and expression. Here, I’ve made four rough sketches. At this stage, it’s important to let yourself go and sketch boldly without hesitance. Everything goes, and it’s from this batch of sketches you choose a couple to send on to your client for approval for the next step.
Step 2 – Lines with weight
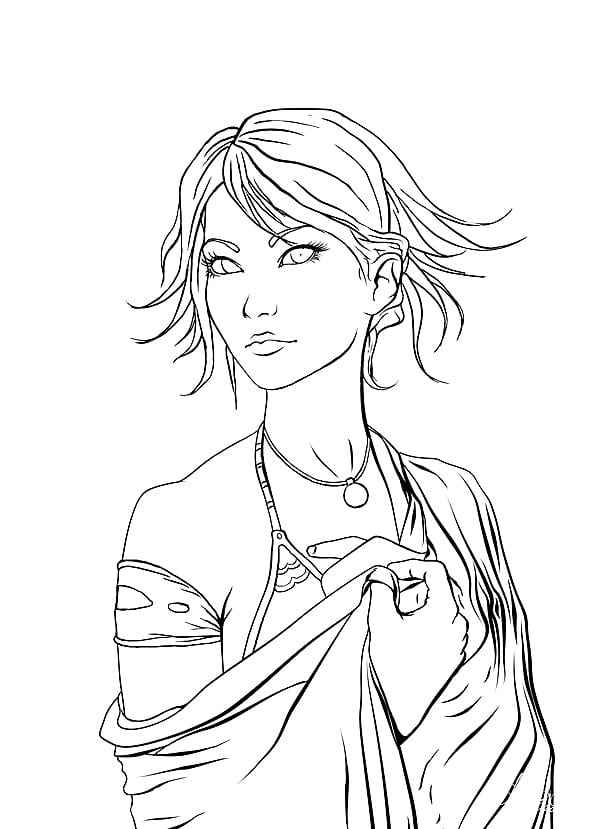
(C) Henning Ludvigsen
I went for the first of the four poses as it appealed most to me. I did some alterations on her hair and what direction she was looking. Here, I’m using line weight to give life and depth to the piece. I’m making sure to keep the line art on a clean layer with black only on a transparent background for easy separation later.
Step 3 – Coloured and blocked in lines
(C) Henning Ludvigsen
When blocking in the different areas, I kept the skin, hair, and clothes on separate layers for more flexibility when shading the different parts. Once the colours were decided, I coloured the line-art to fit their corresponding blocked in areas. I also turn the layer opacity on the line-art a little bit down to soften it even more.